
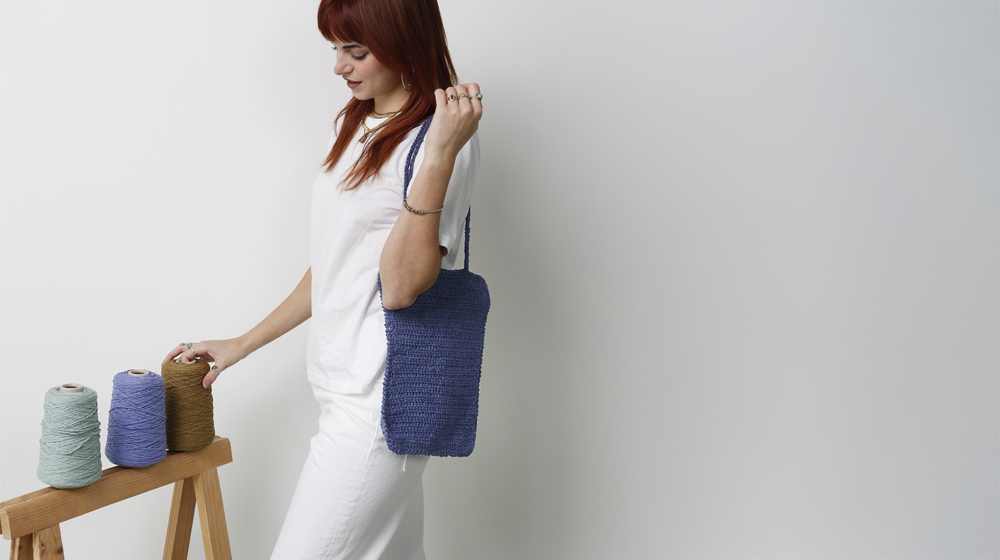
Today we are going to learn how to crochet a rectangular bag together. With an ultra‑fresh, plant‑based yarn called Ortica. It is half cotton and half nettle fibre, and you will love it because it is easy to work with and because it evokes the extraordinary power of Nature, which gives us spectacular ingredients to create truly unique yarns.
Head over to our shop, pick your favourite shade of Ortica, and then get started. This bag will turn out super practical and very hard‑wearing.
MATERIALS
Ortica yarn color Jeans 134 g / 4.7 oz
Crochet hook n° 5 EU / H-8 US
Stitch markers
Tapestry needle
GAUGE SINGLE CROCHET
10 cm x 10 cm / 4" x 4"
15 stitches and 18 rows
CROCHET STITCHES USED
Chain stitch
Slip stitch
Single crochet
Crab stitch:
work single crochet from left to right.
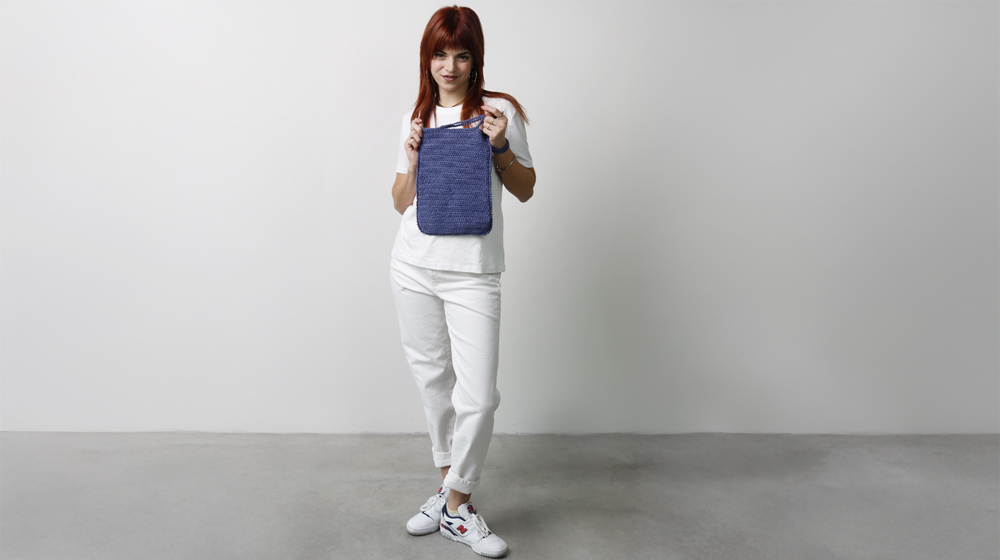
DIMENSIONS OF THE FINISHED PIECE
Width: approx. 24 cm / 9.4"
Height: approx. 32 cm / 12.6"
DIFFICULTY
Easy
METHOD
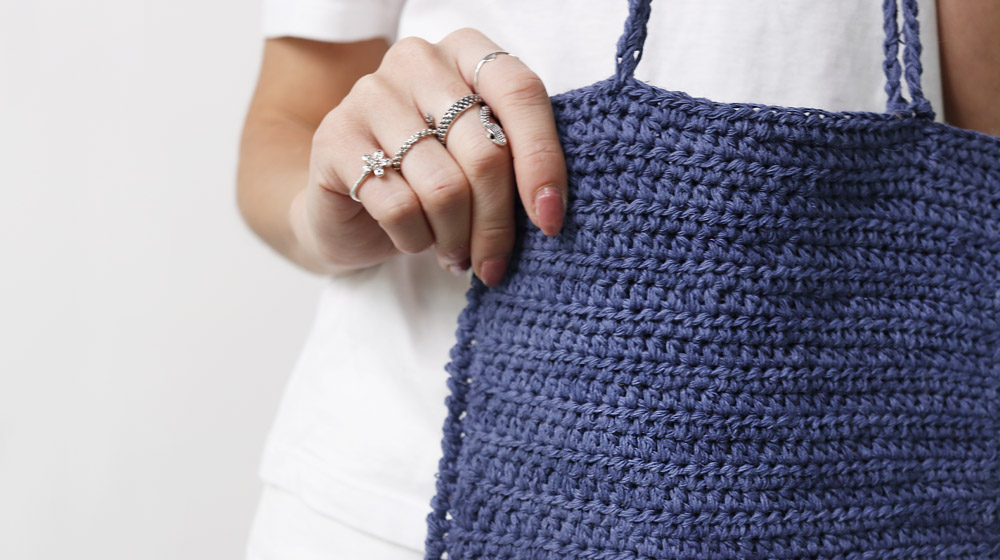
The rectangular bag is worked flat and consists of two pieces: the front panel and the back panel, which are joined at the bottom and sides at the end. The handles are added afterward.
Start with the back panel.
Using a crochet hook n° 5 EU / H-8 US, loosely chain 36 and work in single crochet for 56 rows. Cut and fasten off the yarn.
Work the front panel exactly as described for the back panel.

Place the two panels together, with the wrong side of the front panel against the wrong side of the back panel. Join the sides and bottom at the same time by working one row of crab stitch using a crochet hook n° 5 EU / H-8 US: start at the top of one side and finish at the bottom of the opposite side. For each stitch, insert the hook first into the row end/stitch of one panel, then into the corresponding row end/stitch of the other panel.
For the back panel handle: locate the 18 central stitches of the last worked row and place a stitch marker in the stitch before and in the stitch after these 18 stitches. Using a crochet hook n° 5 EU / H-8 US, join the yarn in the stitch before the 18 central stitches and chain approximately 55 cm / 21.6". Then, slip stitch into the stitch after the 18 central stitches. Cut and fasten off the yarn.
Work the front panel handle in the same way.


WRITE A COMMENT