
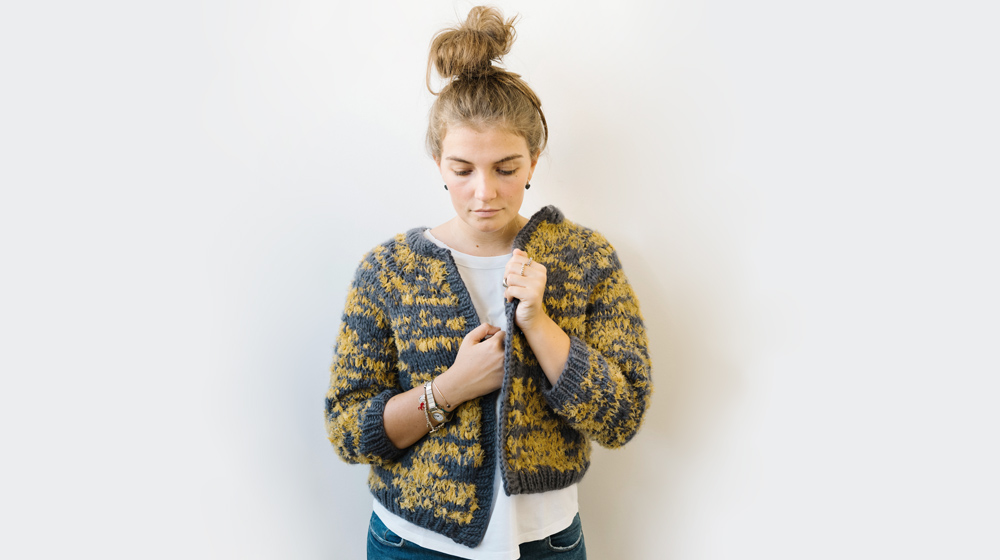
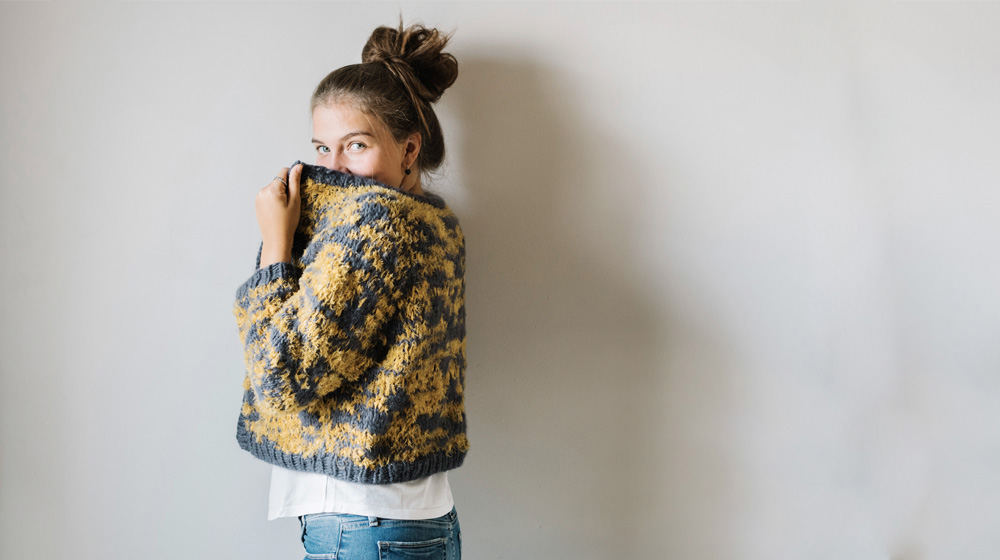
The collaboration with Knitting For Breakfast continues as does the experimenting! This time, weve come up with a knit jacket with ribbon inserts that has the distinctive feature of being made by weaving yarn and ribbons. Piuma yarn and Etamine Wool ribbons mainly. The outcome is a prettily chunky and sturdy knit jacket.
Lets grab our needles and get started straight away on this new pattern.
The stitches are gradually increased, from the neck to the sleeves, then the stitches are placed on hold on a thread to be picked up later. The sleeves are worked in the round. Its one size.the huge advantage of being seamlessThis type of garment is worked back and forth with circular needles from top to bottom. As its worked as just one piece it has.
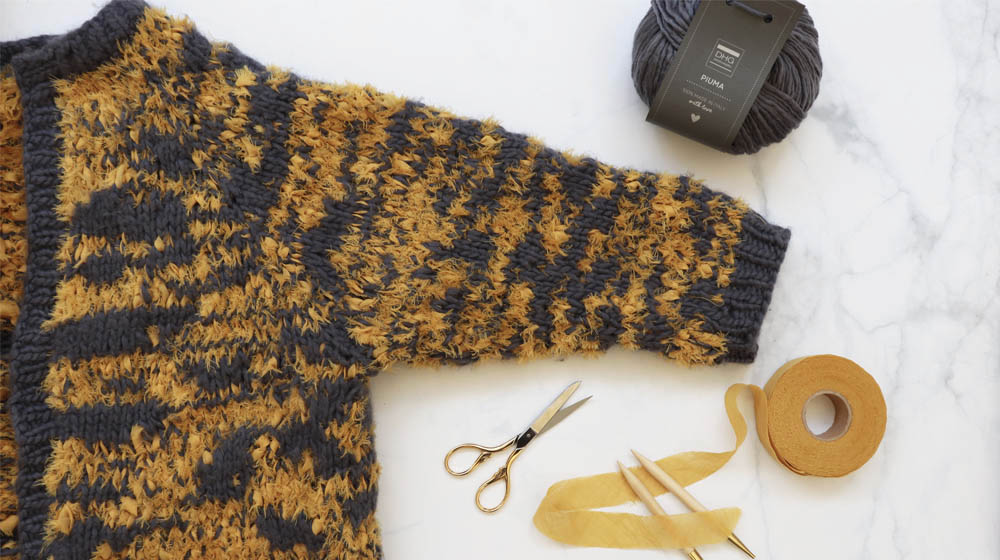
MATERIALS
Piuma yarn col. Storm 400 g / 14.1 oz
Wool Etamine Ribbons 2.5cm wide col. Honey 350 m
Knitting needle n° 8 EU / 11 US
Knitting needle n° 10
KNIT-CROCHET STITCHES USED
Knit and purl
Rib stitch 1/1:
Row 1, knit 1 purl 1 to the end of the row and Row 2: work the stitches as they appear
Increases:
kfb is advised
METHOD
Using n° 10 needles and Piuma yarn cast on 50 stitches.
Now carry on with the Piuma yarn together with the Wool Etamine Ribbon, alternating the use of the ribbons together with the use of just Piuma yarn, at random or as desired. We advise you not to cut the etamine ribbon, but make sure that the ribbon thats placed on hold is always on the wrong side of the work, we also advise that you dont place it on hold for more than 5 or 6 stitches.
If you want longer sections of just the Piuma yarn, then cut the ribbon and pick it up later. Doing this you can decide to prioritize the piuma yarn or the ribbon creating your own personal item which makes it original and different to any other.
Row 1: (RS): knit all stitches
Row 2 (WS): purl all stitches
Place the place markers (PM) in the following way:
Row 3 (RS): knit 6, place PM, knit 8, place PM, knit 22, place PM, knit 8, place PM, knit 6.
Row 4 (WS): purl all stitches.
Now were going to start increasing to shape the sleeves, the back and the two front parts for the jacket. The increases are always done before and after each place marker.
Row 5 (RS): * knit until the PM, increase 1, slip PM, increase 1 * repeat from * to * another 3 times, knit to the end of the row. (8 increased stitches)
Row 6 (WS): purl all stitches.
Repeat rounds 5 and 6 another
15 times
On the needles youll have 178
stitches in total
Now place the sleeves on hold like so:
knit 22, place 40 stitches on hold (first sleeve) knit 54 stitches, place on hold the next 40 stitches (second sleeve) and knit another 22 stitches.
Now start working on the body, on the needles there are 98 stitches.
Round 1 (RS): knit all stitches
Round 2 (WS): purl all stitches
Repeat rounds 1 and 2 for about
23cm
Switch to no.8 needles use Piuma yarn only
Work 6 rounds of rib stitch
1/1
Bind off loosely.
With the n° 10 needles and the piuma yarn together with the etamine ribbon (always continuing to alternate the yarns as previously indicated) pick up on the needles the 40 stitches previously placed on hold and start working the sleeves in the round (with circular needles) as follows:
From rounds 1 to 5: knit all stitches
Round 6: knit all stitches and decrease 2 stitches (38sts)
From rounds 7 to 9: knit all stitches
Round 10: knit all stitches and decrease 2 stitches (36sts)
From rounds 11 to 13: knit all stitches
Round 14: knit all stitches and decrease 2 stitches (34sts)
From rounds 15 to 17: knit all stitches
Round 18: knit all stitches and decrease 2 stitches (32sts)
From rounds 19 to 21: knit all stitches
Round 22: knit all stitches and decrease 2 stitches (30sts)
From rounds 23 to 25: knit all stitches
Round 26: knit all stitches and decrease 2 stitches (28sts)
From rounds 27 to 38: knit all stitches
Switch to no.8 needles and use Piuma yarn only.
Work 6 rounds of rib stitch 1/1
Bind off loosely and repeat it all for the other sleeve.
With the no.8 needles and only the piuma yarn, pick up 50 stitches along the sides of the neck and work 4 rows of rib stitch 1/1.
This cardigan Is adorable as it is, but if you fancy using less etamine ribbons to make the Piuma stand out more, you can. This pattern is designed to give you the chance to measure out the exact amount of the material you want to use. Additionally, you could make the jacket with the Piuma and use the etamine ribbons for the detail around the neckline. In other words, you can satisfy your every whim!
If you liked making this jacket you might find the pattern for a silk mohair cropped cardigan interesting too!
WRITE A COMMENT