
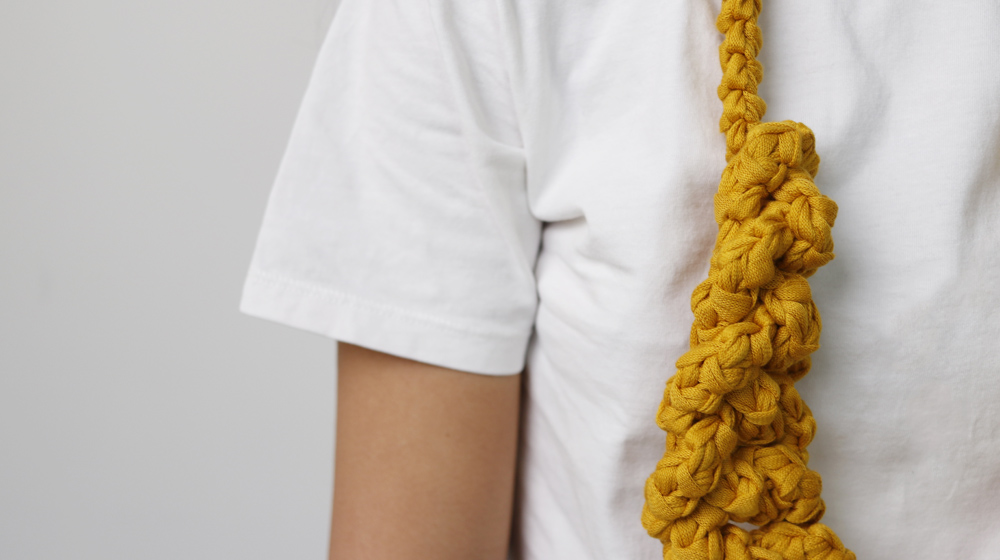
This is a perfect project even for beginners! For this Romanian braid necklace using the Stromboli tape yarn, you first crochet a Romanian braid approximately 270 cm long and then continue the work with finger crocheting. Its a cute textile jewelry piece to show off in both summer and winter, and you can make it in various colors to match your outfit. To us, it evokes the timeless and playful style of Marta Marzotto.
Pick your favorite color of Stromboli, a 100% cotton yarn, and get started on making dozens of Romanian braid necklaces! Just one ball is enough, and youll even have leftovers.
MATERIALS
Stromboli yarn color Saffron 130 g / 4.6 oz
Crochet hook n° 6 EU / J-10 US
Tapestry needle
CROCHET STITCHES USED
Chain
Single crochet
Double chain:
start with 2 chains, then repeat (insert the crochet hook in the 2nd chain from the hook, yarn over, and pull through 1 stitch, yarn over and pull through both loops) until the desired length is achieved.
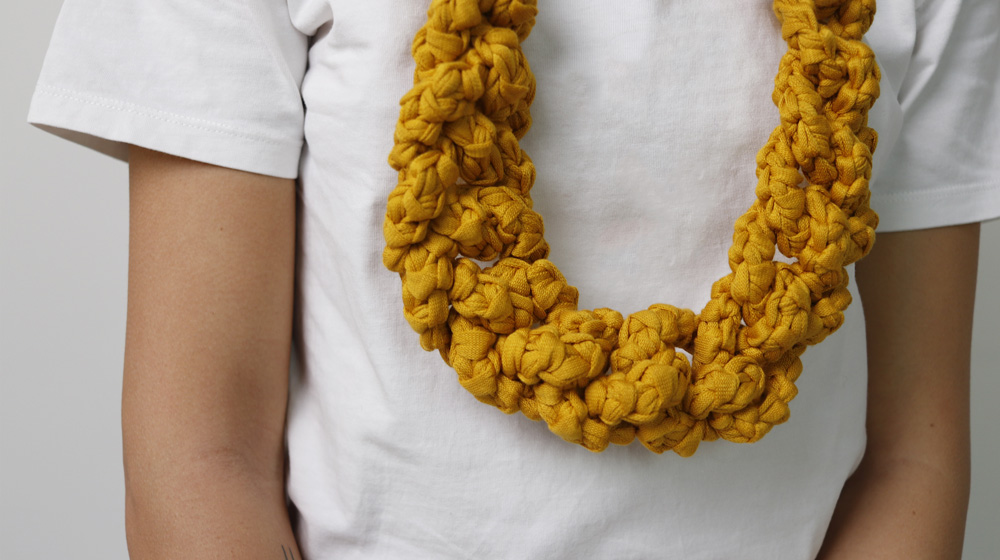
DIMENSIONS OF THE FINISHED PIECE
Length approximately 75 cm / 29.5" (excluding sliding knot)
DIFFICULTY
Easy
METHOD
The necklace consists of a chain made with the fingers, interweaving a cord of double chains previously made.
For the cord, leaving an initial length of about 60 cm / 23.6", use the crochet hook n° 6 EU / J-10 US to make a double chain approximately 200 cm / 78.7" long. Cut the yarn, leaving another 60 cm / 23.6" piece and fasten it off. Using the cord just made as the working yarn, create an elongated loop about 15 cm / 6" from the start of the cord, corresponding to the first chain. Then, using your fingers, make 13 more chains as follows: hold the cord in your right hand, insert your thumb and index finger into the previous loop, and grab the cord, pulling it through the loop; repeat these steps for each following chain, always keeping the working yarn on the right. Once all the chains are made, you should have the same length of free yarn and cord at both ends of the necklace. If not, continue making chains to balance the lengths.

To make the sliding knot, arrange the necklace into a circle on a flat surface, ensuring the ends are aligned and facing in opposite directions: the two yarn ends should overlap for about 50 cm / 19.7". Make a knot on the left side to join the two strands as follows: cross the free end of the first yarn with the corresponding part of the second yarn, passing it over and then behind to form a loop, insert the free end of the second yarn into the loop, and tighten the knot, pushing it toward the end of the yarn. Now, make a knot on the right side to join the two strands as follows: cross the free end of the second yarn over the first yarn, passing it first in front and then behind to form a loop, insert the free end of the first yarn into the loop, and tighten the knot, again pushing it toward the end of the yarn. Use the sliding knot to adjust the necklace to your desired size.


WRITE A COMMENT