
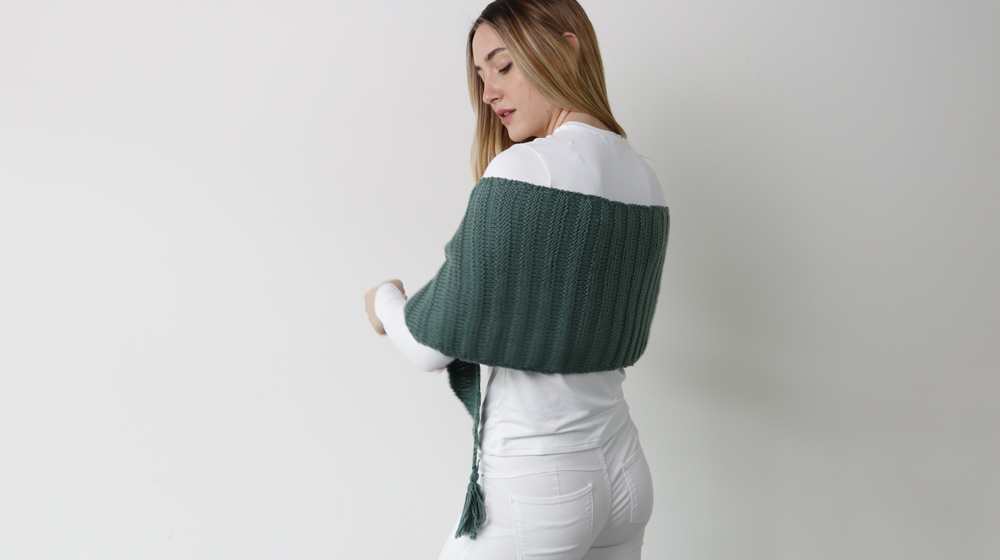
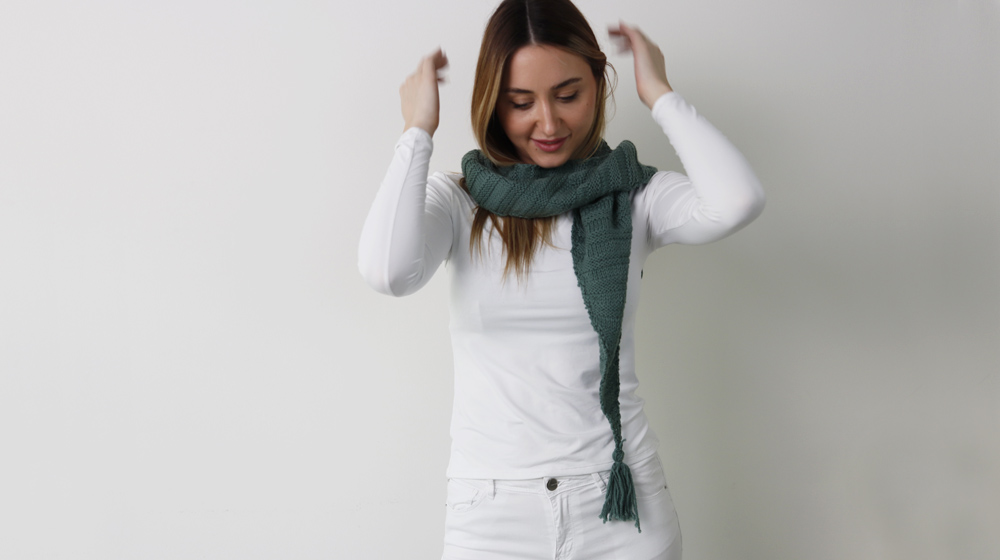
Today we learn how to make a scarf with knitting needles. Its made with Rain or Shine, a yarn suitable for all seasons because its wool but very lightweight. What makes this scarf special? The tassels that give it a playful touch.
Rain or Shine is truly versatile. Some choose it for knitting, others for tufting, and still others for hand weaving. It also boasts a fascinating color palette, featuring both vibrant hues and delicate pastels.
MATERIALS
Rain or Shine yarn, color Basil, 130g / 4.6oz
Knitting needles size 4 EU / 6 US
Tapestry needle
GAUGE
10 cm x 10 cm / 4" x 4"
16 stitches and 22 rows
In stockinette stitch.
STITCHES USED
Knit
Purl
Twisted knit:
knit the stitch through the back loop of the stitch below.
Twisted purl:
purl the stitch through the back loop of the stitch below.
Stockinette stitch:
row 1: knit
row 2: purl
Repeat rows 1 and 2.
Stockinette stitch:
row 1: purl
row 2: knit
Repeat rows 1 and 2.
Increase knit:
lift the strand between the stitch worked and the next one and knit 1 through the back loop.
Increase purl:
lift the strand between the stitch worked and the next one and purl 1 through the back loop.
Simple bind off:
pass 1 stitch onto the right needle without working it, knit or purl (depending on how it looks) the next stitch on the left needle, then with the left needle tip, lift the passed stitch over the worked stitch.
FINISHED SIZE
136 cm / 53.5" from tip to tip
30 cm / 11.8" at the widest point
DIFFICULTY
Easy

INSTRUCTIONS
With knitting needle size n° 4 EU / 6 US, cast on 3 stitches.
Row 1: repeat (1 purl, increase 1 purl) 2 times, knit 1 purl
row 2: knit
row 3: purl
row 4: knit
row 5: knit 1, increase 1 knit, continue knitting until the last stitch, increase 1 knit, knit the last stitch
row 6: purl
row 7: knit
row 8: purl
row 9: purl 1, increase 1 purl, continue purling until the last stitch, increase 1 purl, purl the last stitch
row 10: knit
row 11: purl
row 12: knit.
Rows 5 to 12 set the alternating stockinette stitches with increases. Repeat these rows 9 more times, then knit rows 5 to 8 one more time: you will reach row 88 with 47 stitches on the needle. This completes the first tip.
For the center section, continue without increases and knit 4 rows of stockinette purl, then repeat (4 rows stockinette knit, 4 rows stockinette purl) for 13 times: you will reach row 196.
Now, alternating 4 rows of stockinette knit and 4 rows of stockinette purl, start the decreases for the second tip.
Row 197: knit 1, decrease 1 by working a simple bind off on the next 2 stitches, continue knitting until the last 3 stitches, decrease 1 by knitting 2 stitches together, knit the last stitch
row 198: purl
row 199: knit
row 200: purl
row 201: purl 1, decrease 1 by working a simple bind off on the next 2 stitches, continue purling until the last 3 stitches, decrease 1 by purling 2 stitches together, purl the last stitch
row 202: knit
row 203: purl
row 204: knit.
Rows 197 to 204 set the alternating stockinette stitches with decreases. Repeat these rows 9 more times, then knit rows 197 to 200 one more time: you will reach row 280 with 5 stitches on the needle.
Row 281: purl 1, decrease 2 by purling the next 3 stitches together, purl 1
row 282: knit
row 283: purl
row 284: knit.
Bind off the work.
Prepare 2 tassels, each 10 cm / 4" long. For each one, wrap the yarn several times around a 10 cm / 4" cardboard square until you reach the desired thickness, then cut it. Take a new piece of yarn, pass it through the wrapped yarn at the top of the cardboard, and tie a knot to secure them. Remove the cardboard, leaving about 1-2 cm / 0.4-0.8" from the top, and wrap the yarn several times to create the top part of the tassel. Cut and tie with a knot. Now cut the wrapped yarn at the bottom, freeing the threads and trimming them to your liking. Attach the tassels to the 2 tips of the scarf.
If you enjoyed making a scarf with tassels using knitting needles and want to discover more knitting projects, we suggest checking out our section dedicated to knitting tutorials.


WRITE A COMMENT