
Halloween is just around the corner, and what could be more fun than creating a unique, themed DIY accessory? This tutorial will guide you step-by-step in making a cute bat-shaped felt candy basket. This candy bag is perfect for kids who will be out collecting treats on the spookiest night of the year.
What really makes a difference is using our felt. Its super easy to cut, glue, and sew. Plus, it comes in tons of colors! Just visit our store.
Now, start the tutorial by following these simple steps. Youll see its easy even if youre not very experienced with scissors, needles, and thread. The tutorial is accompanied by plenty of photos with practical tips and a pattern template.
Thanks to @chiawok for bringing this project to life!
MATERIALS
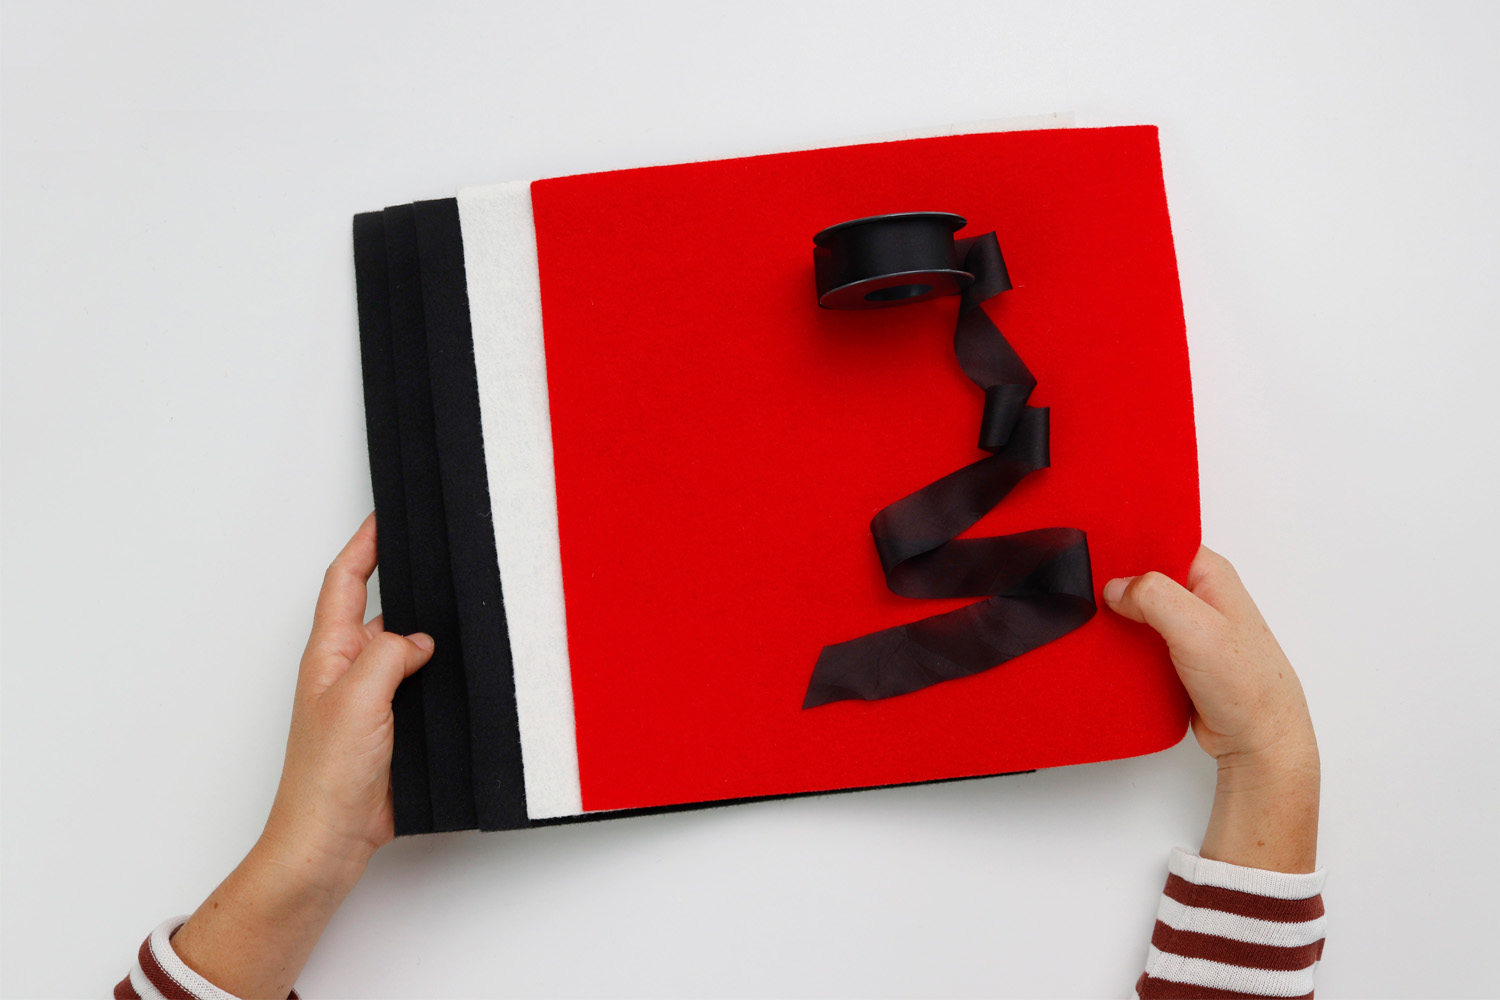
30x30 cm thermoformable wool felt sheets in black (3), red (1), white (1)
2.5 cm wide chiffon silk ribbon color black
Pencil
Scissors
18x18 cm bowl
Hot glue
Needle and black thread
Lay out all your materials on a clean, well-lit workspace so everything is within reach and you can work comfortably. You can get the pattern template by clicking here (print in A3).
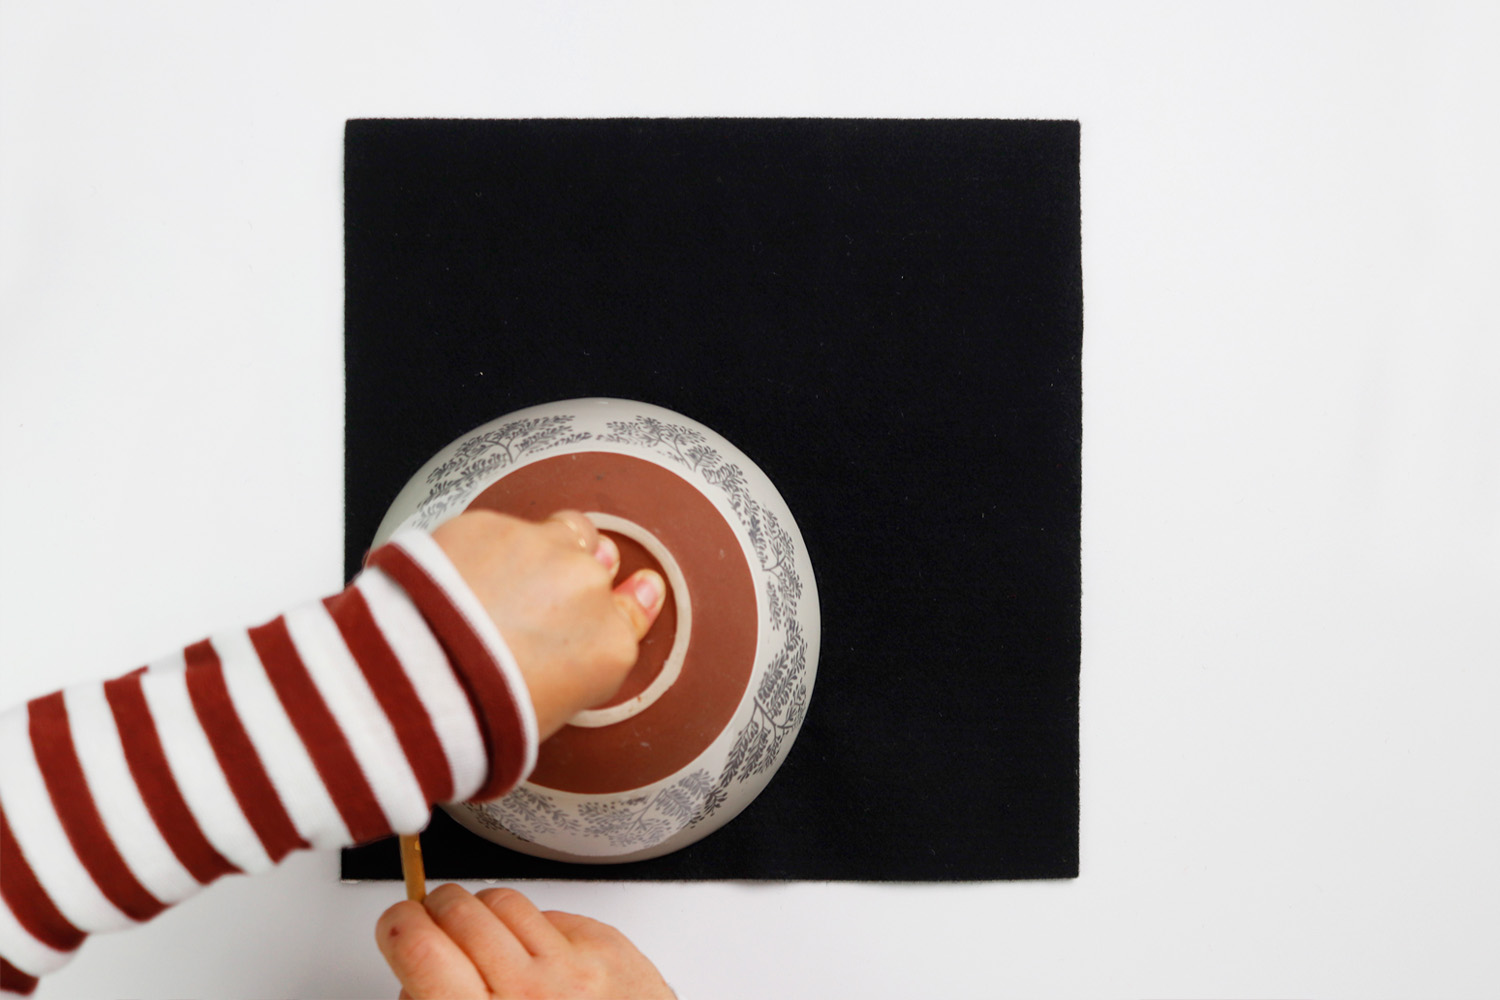
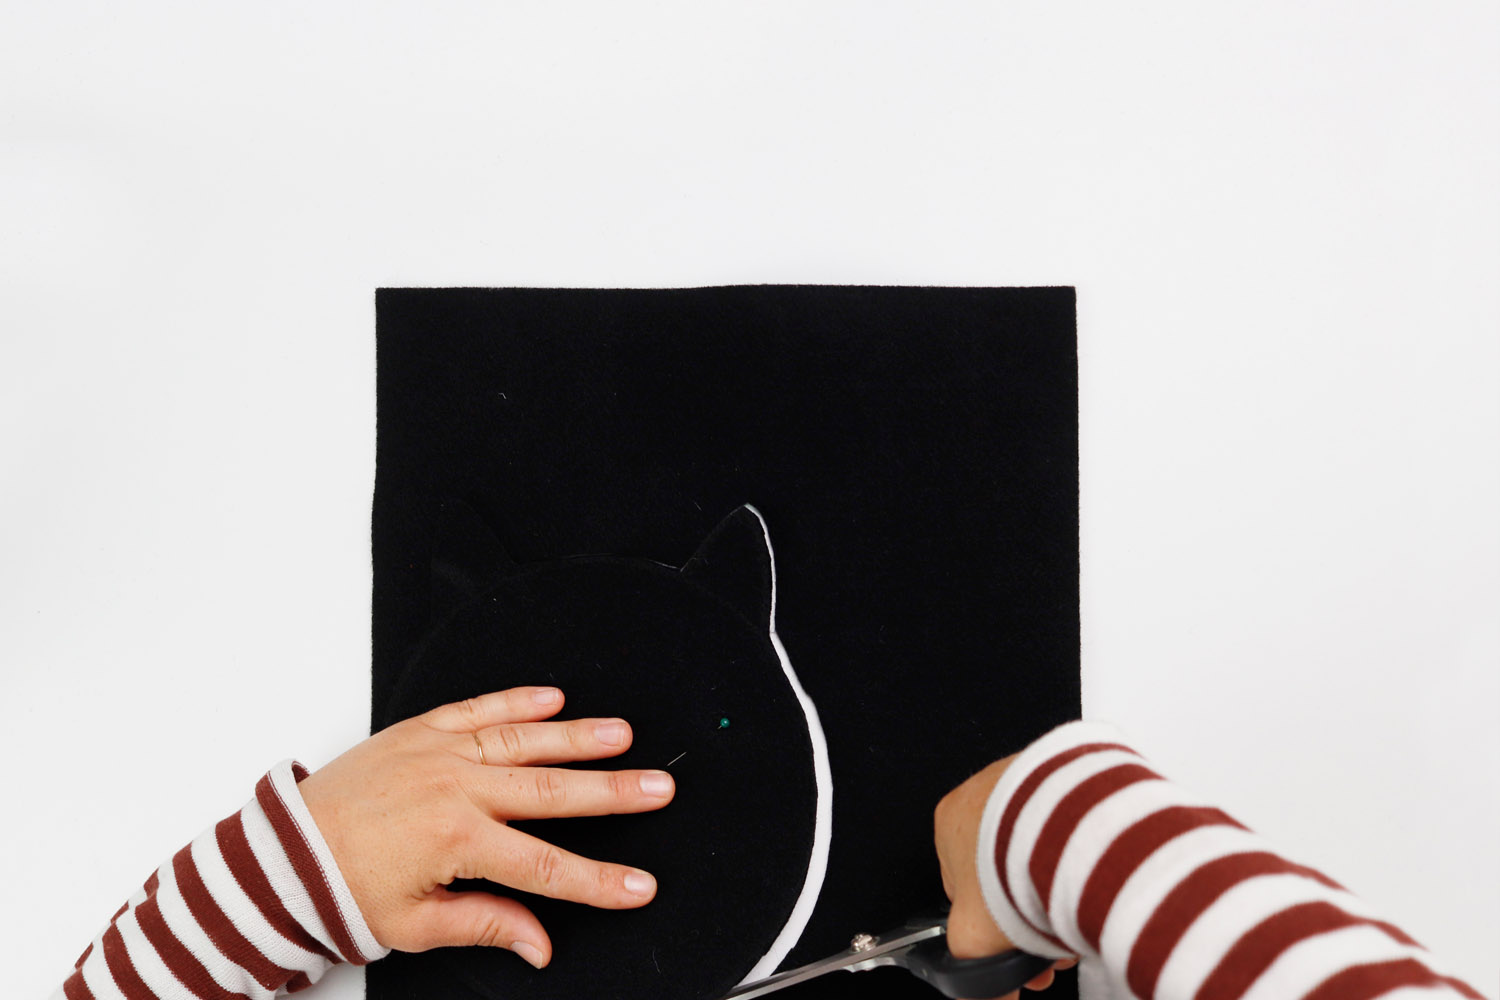
Use the bowl as a template to draw a circle on the black felt, making sure to draw a clear and defined line. This will be the base for the bats face.
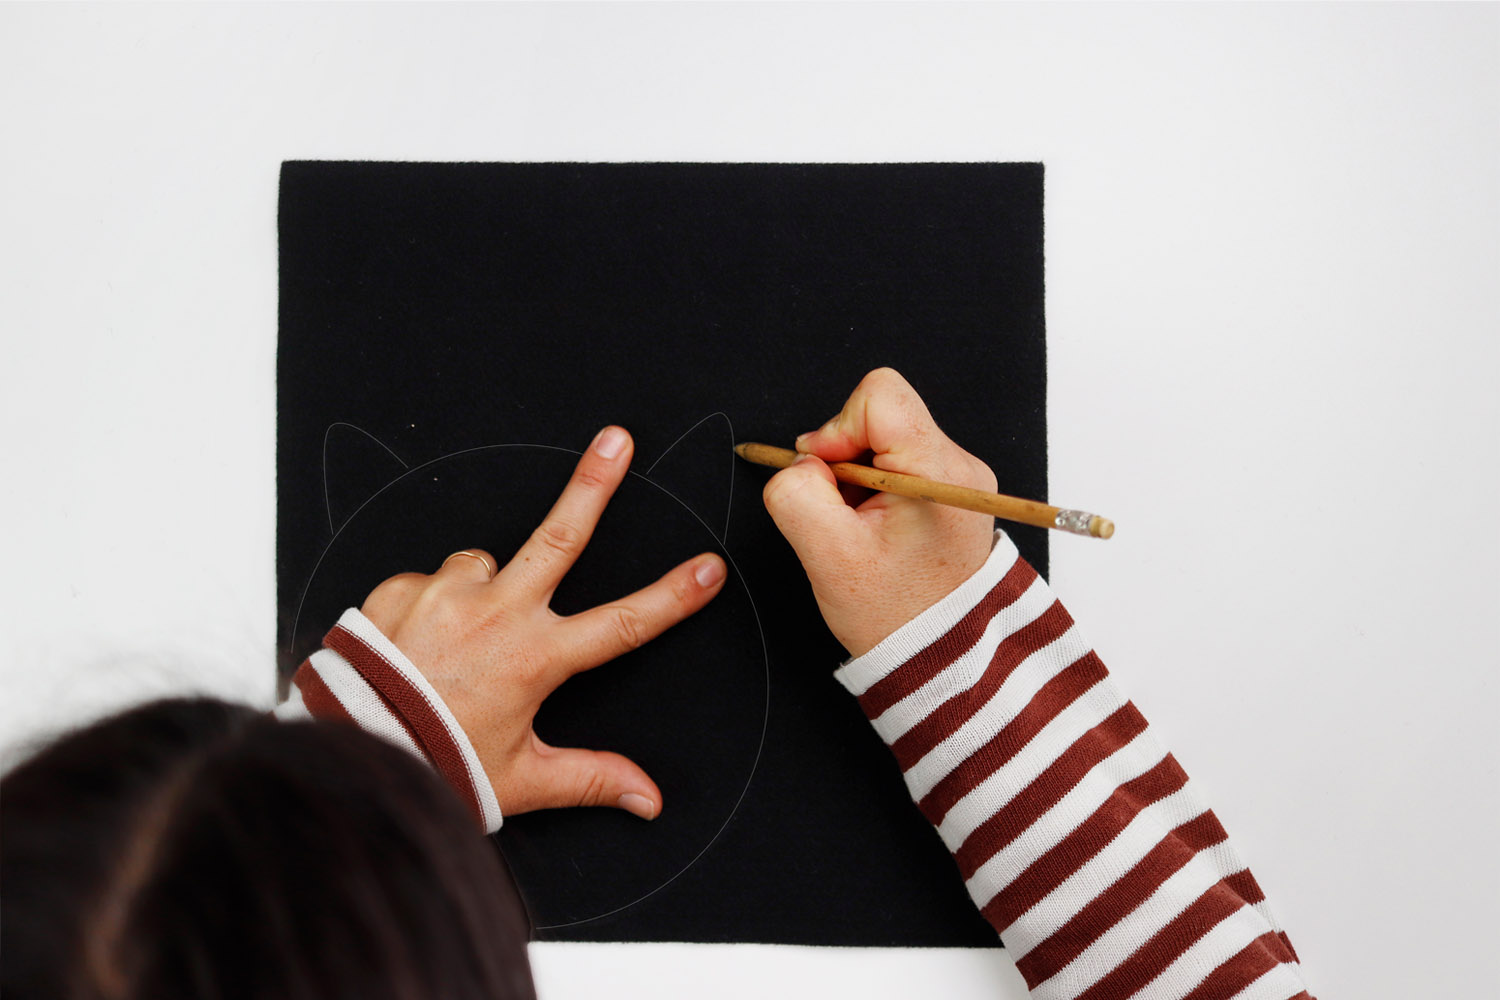
Draw two upper triangles on the circle shape to form the bats pointed ears. Make sure they are proportional and symmetrical.
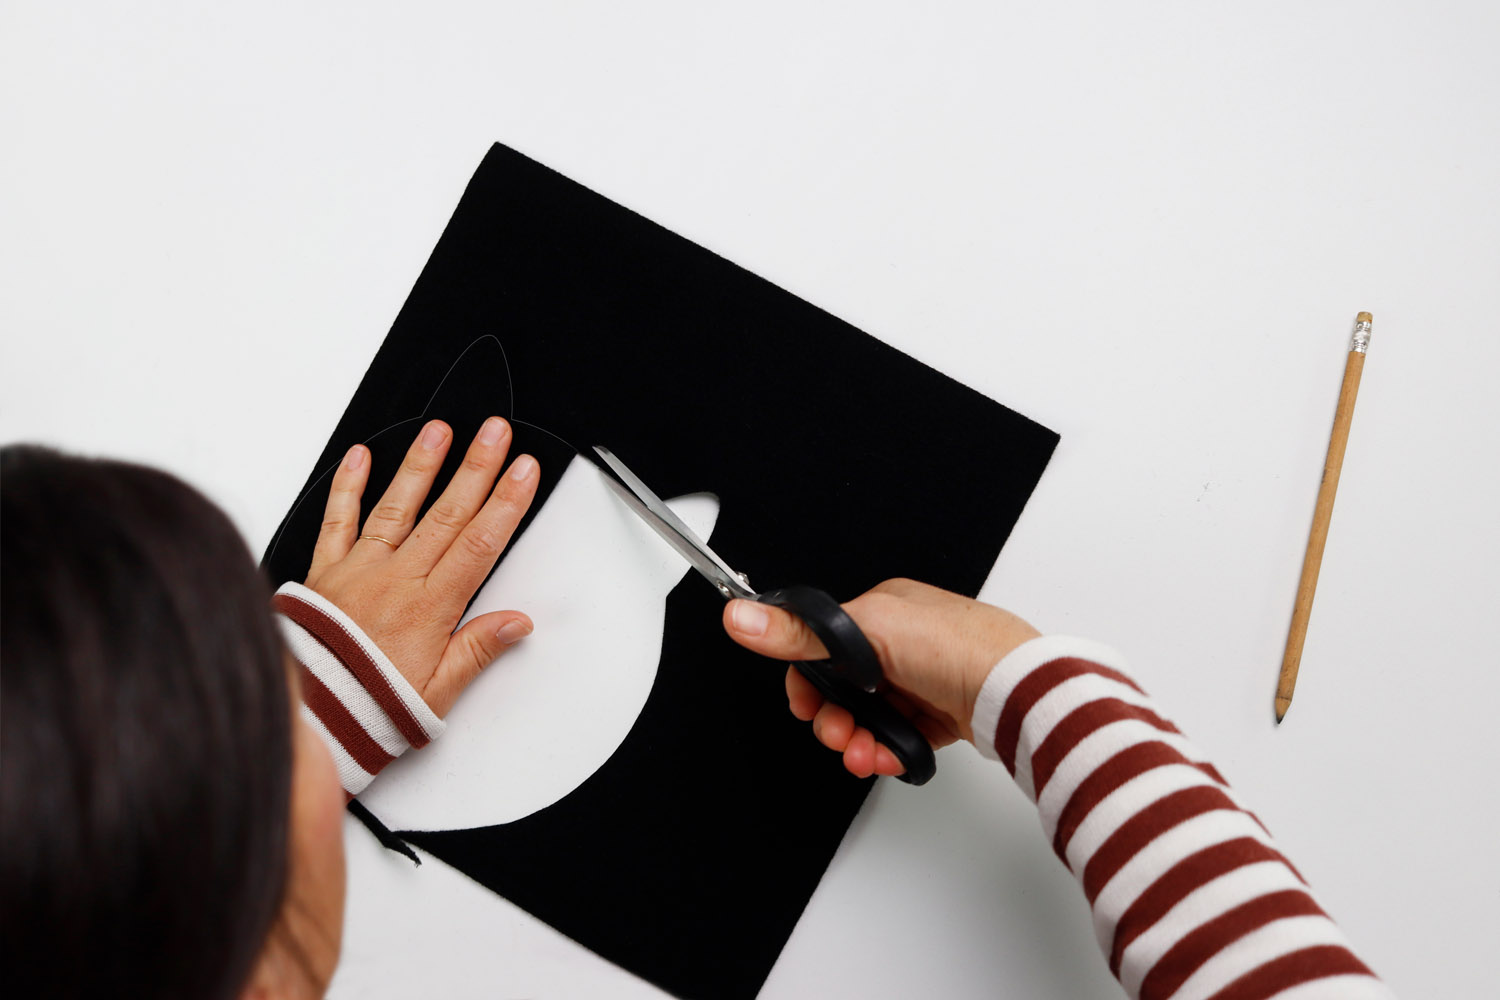
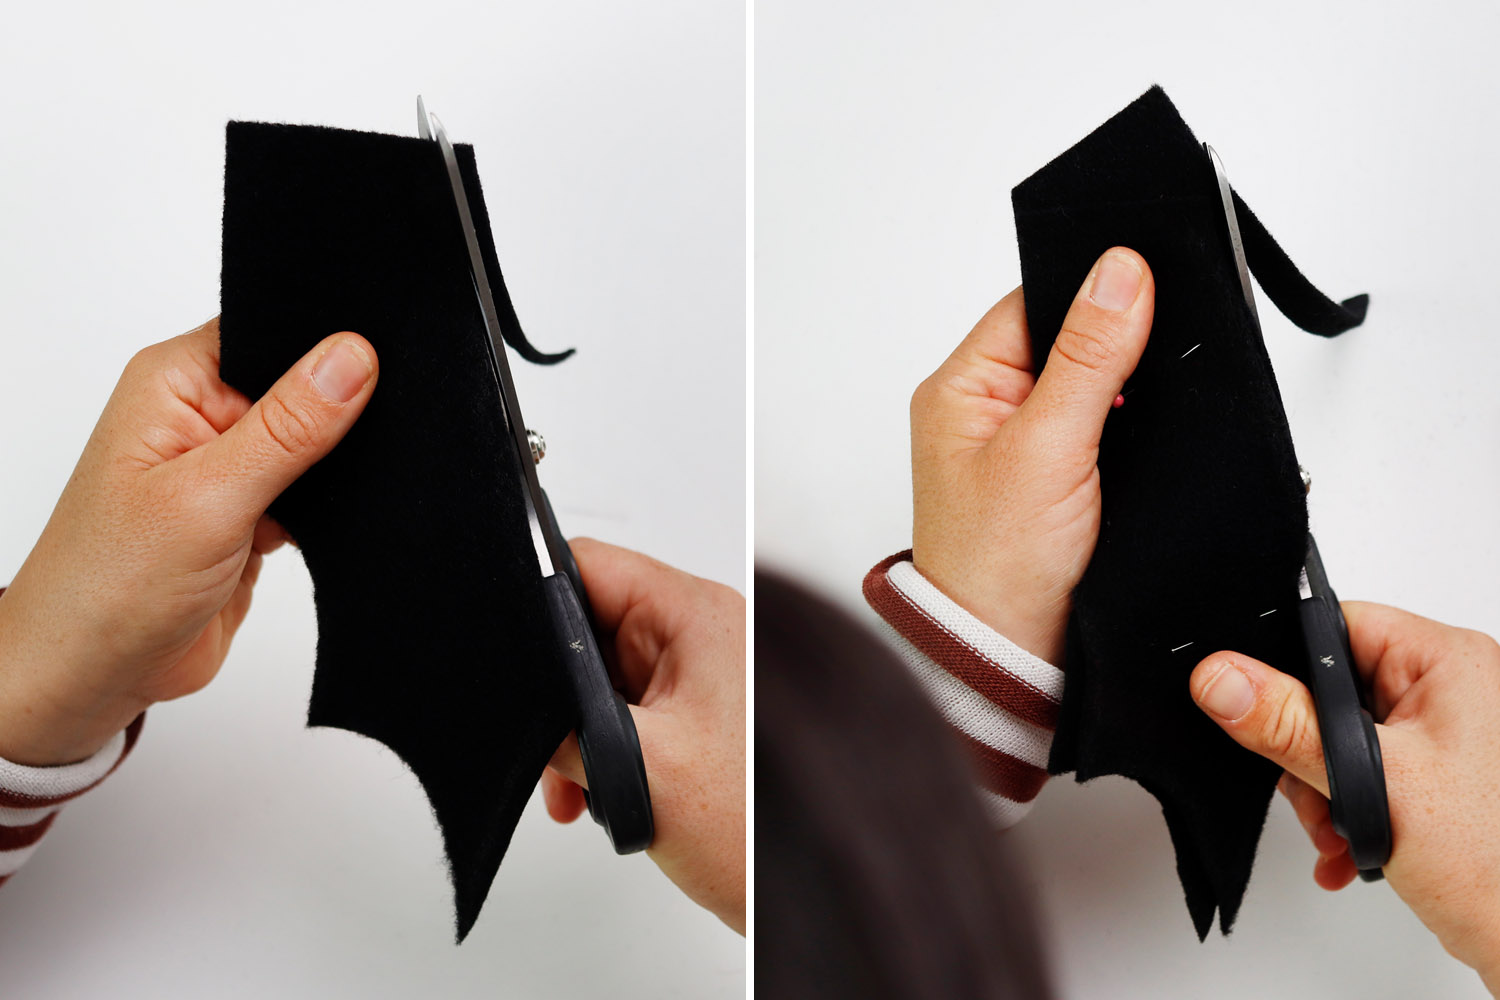
With sharp scissors, carefully cut half the shape along the outline. Cut slowly to get a clean edge.
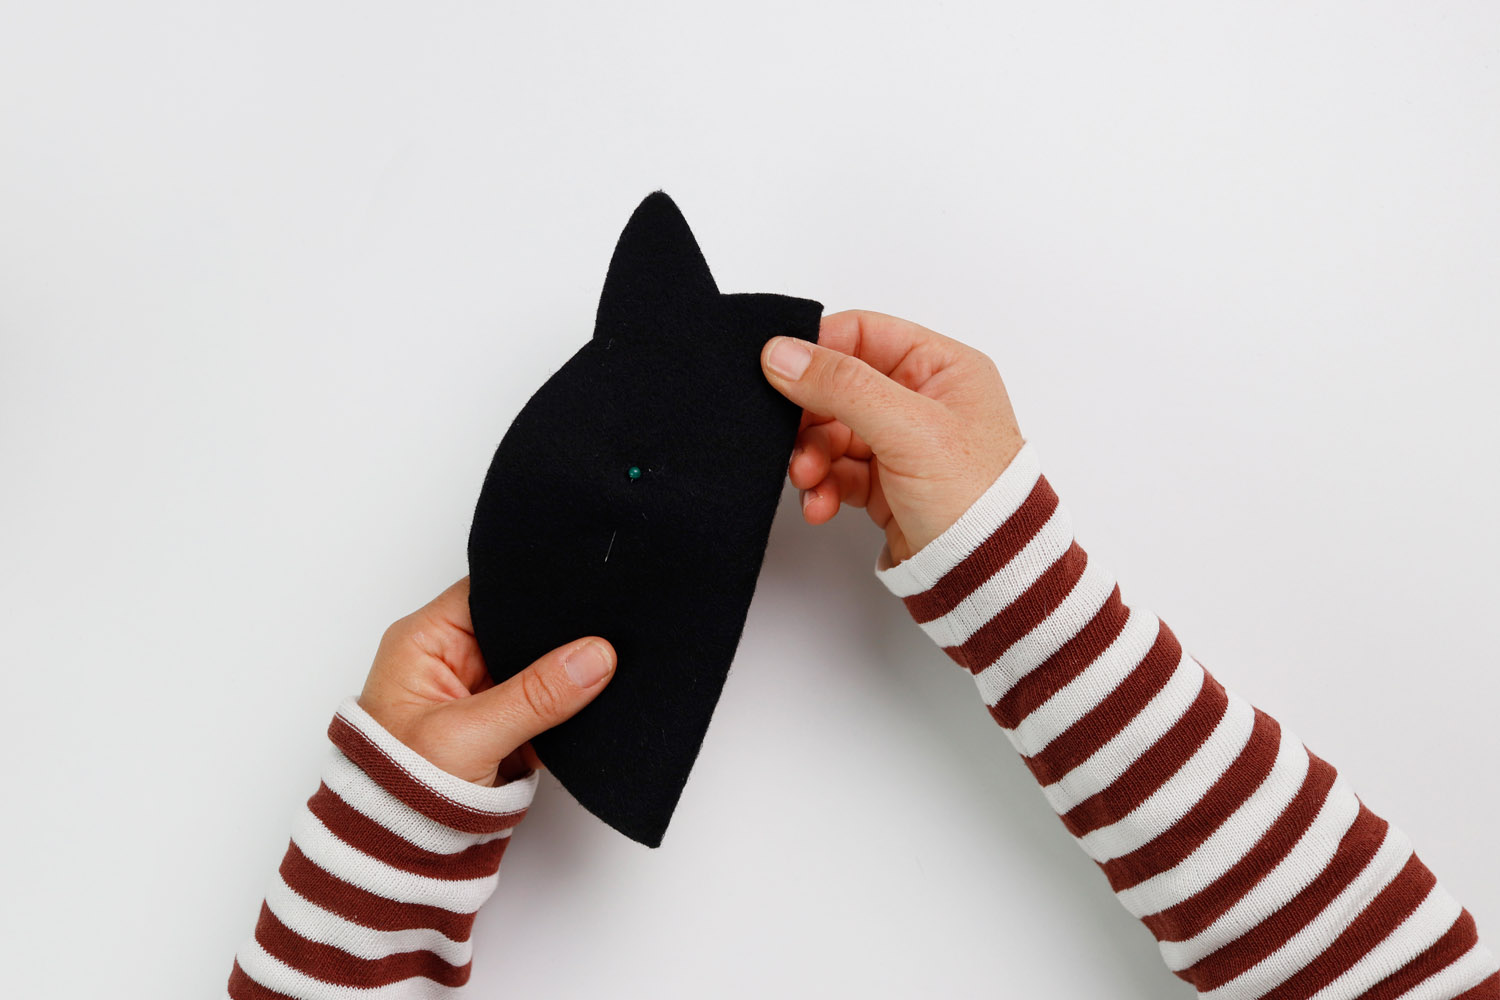
Tip: once you reach halfway through the shape, fold it in two and secure it with a pin, overlapping the two halves. This way you can check if the ears are symmetrical. If theyre not, you can follow the cut edge of the first ear to adjust the second.
Once the shape is cut, keep it folded to fix any imperfections.
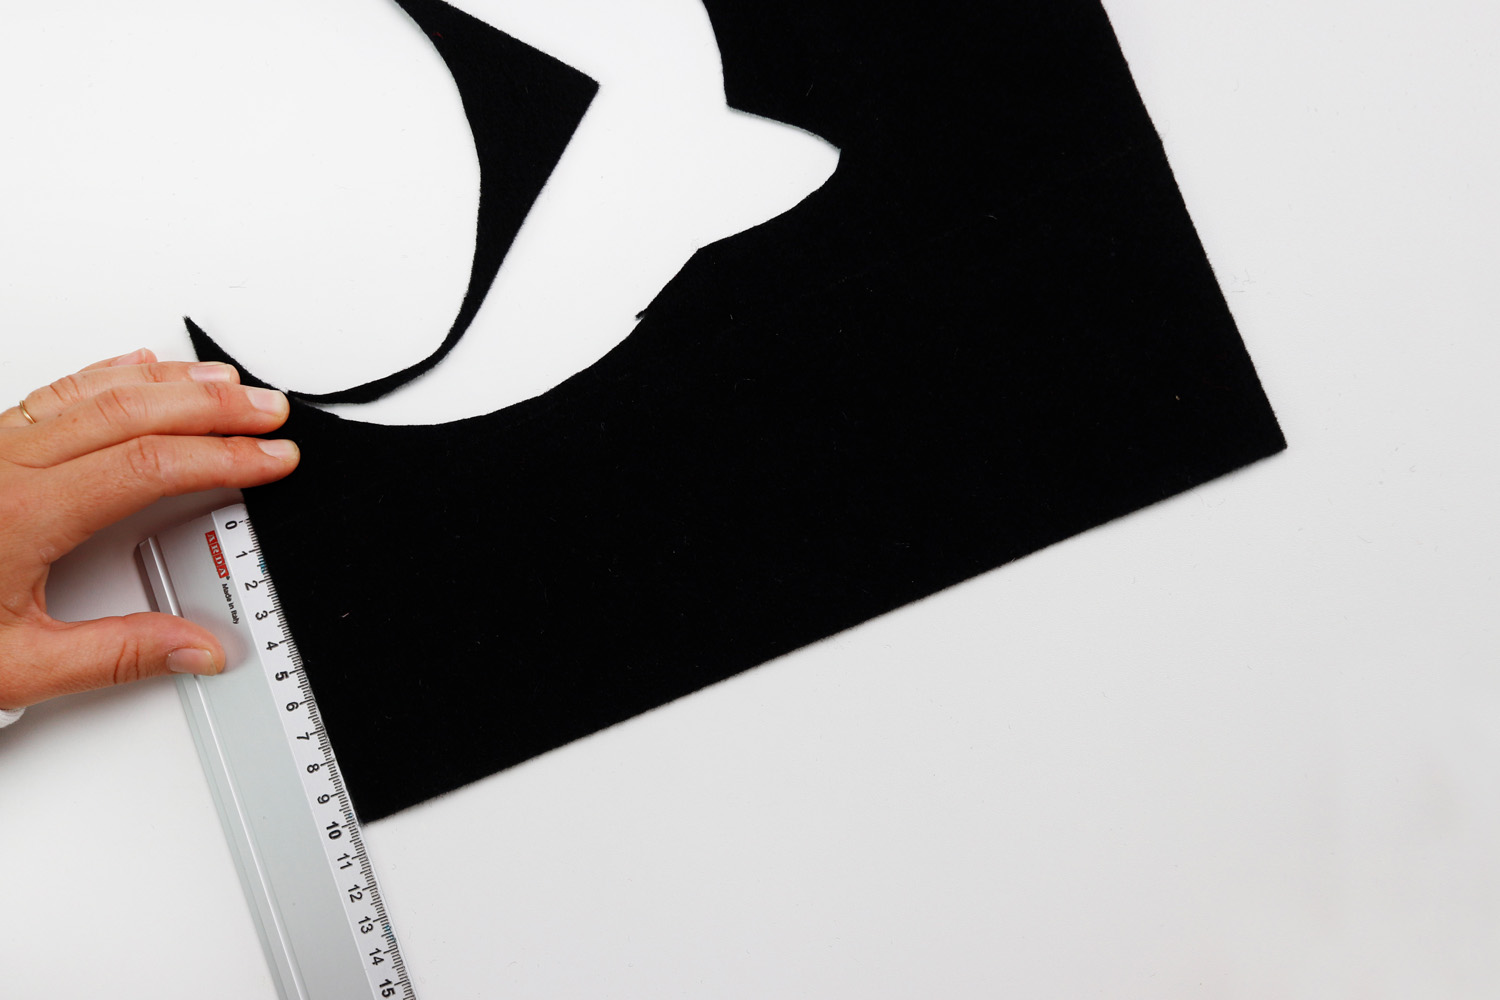
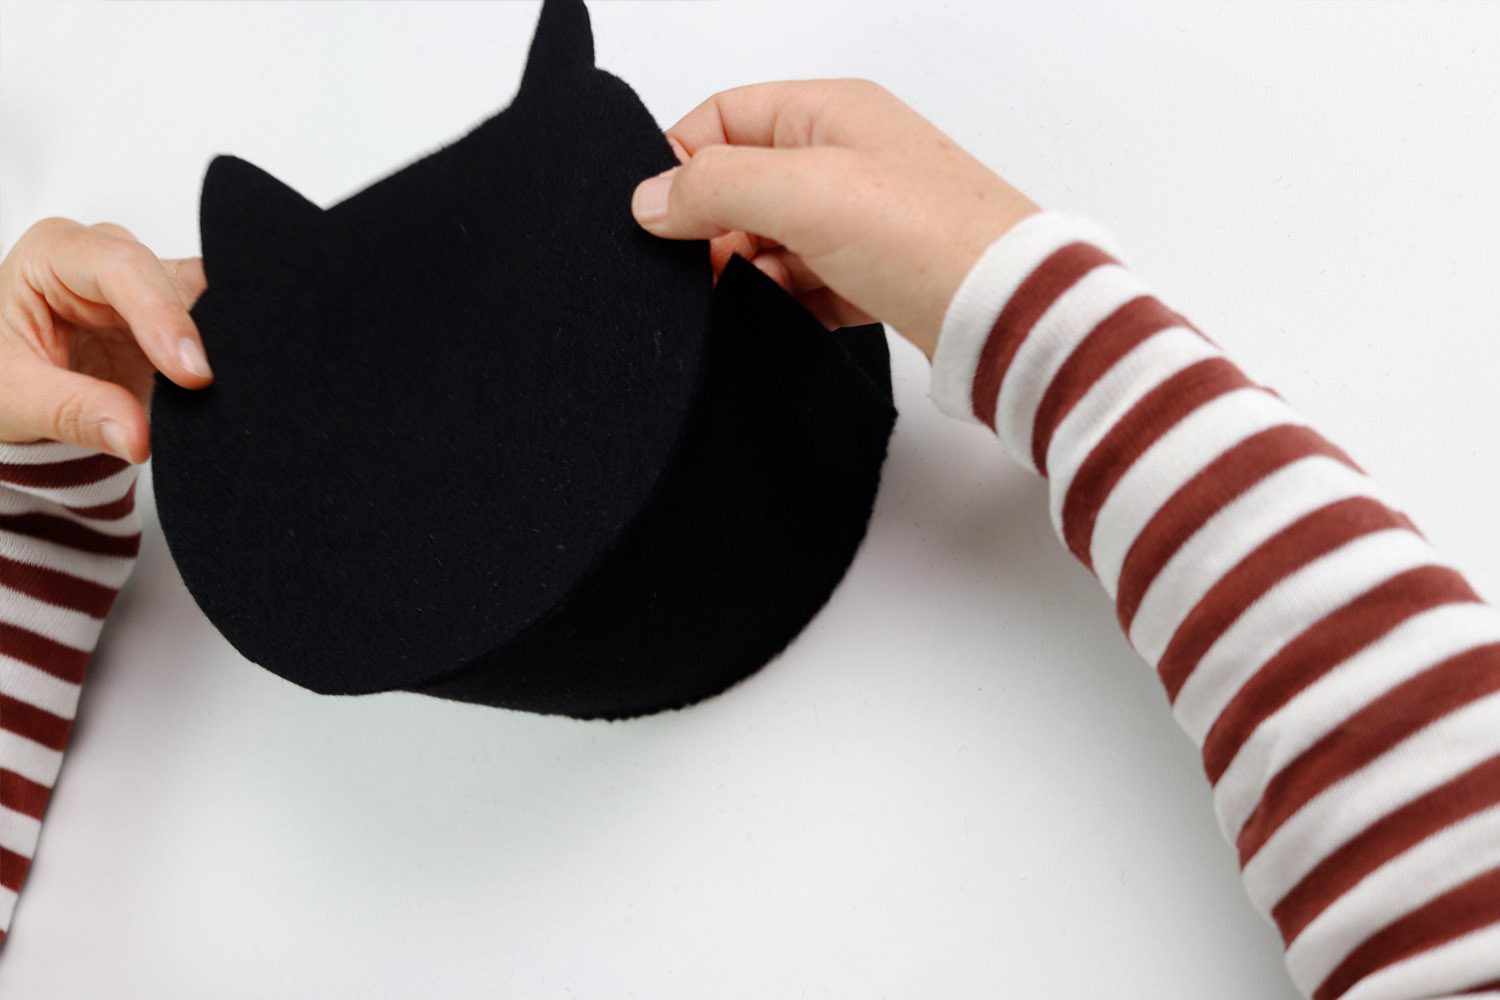
Place the cut shape on another piece of black felt and trace its outline. Cut the second shape along the line to have two identical parts to assemble.
Now lets make the base of the basket. Cut a black felt rectangle about 10x30 cm. This will join the two shapes.
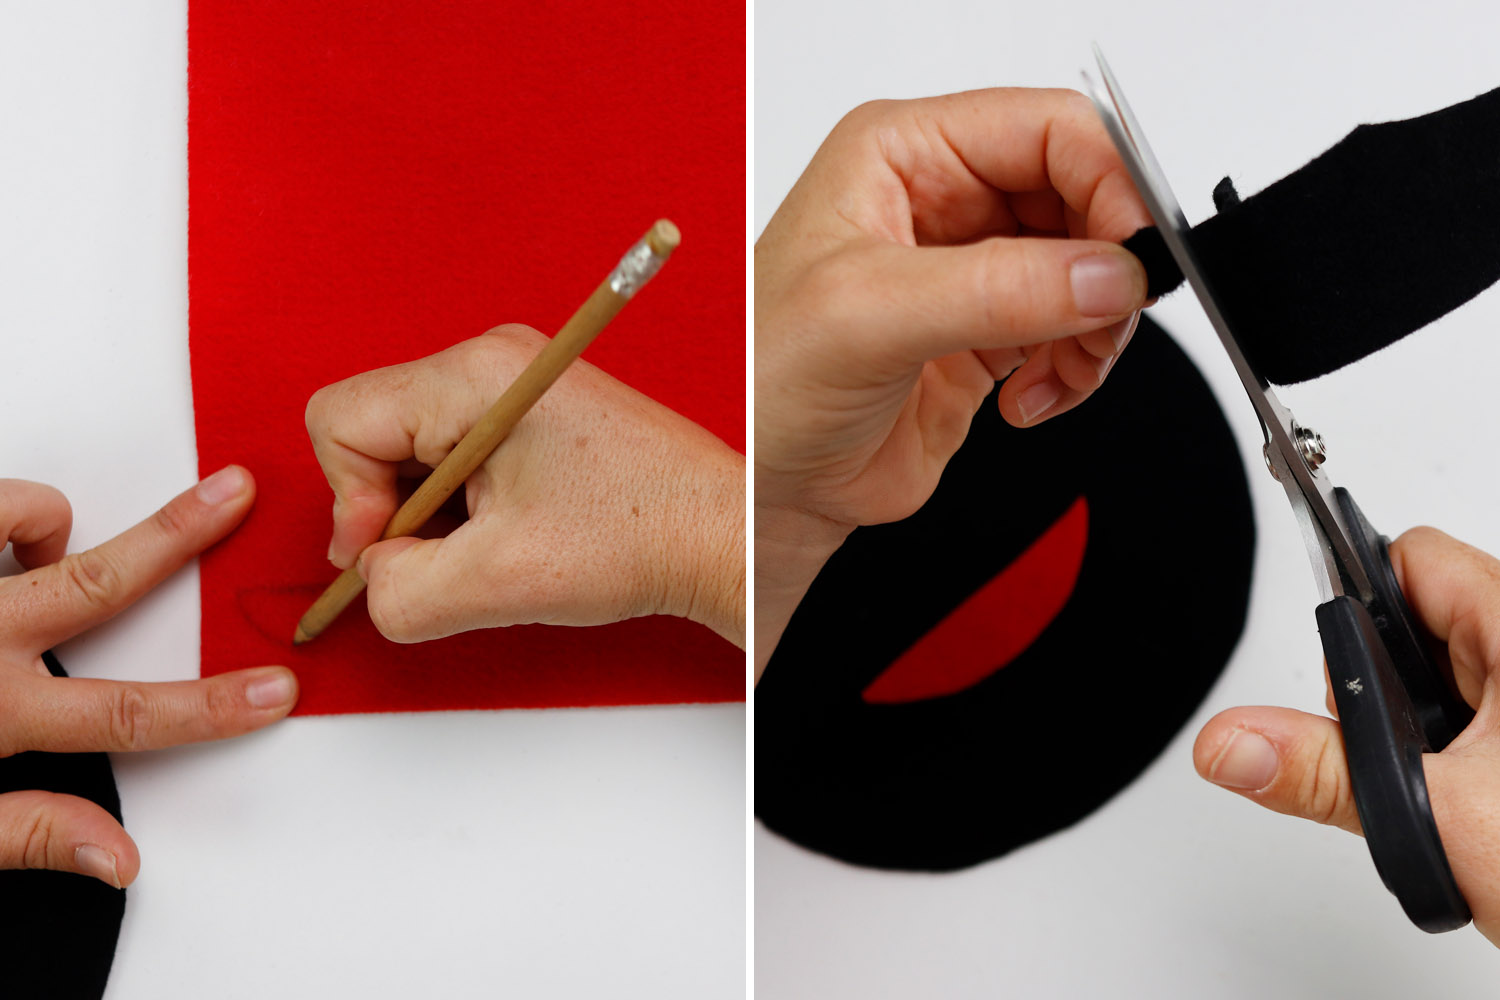
First, draw the mouth on the red felt. Then cut out the first half, overlap with the other half, and follow the cut edge.
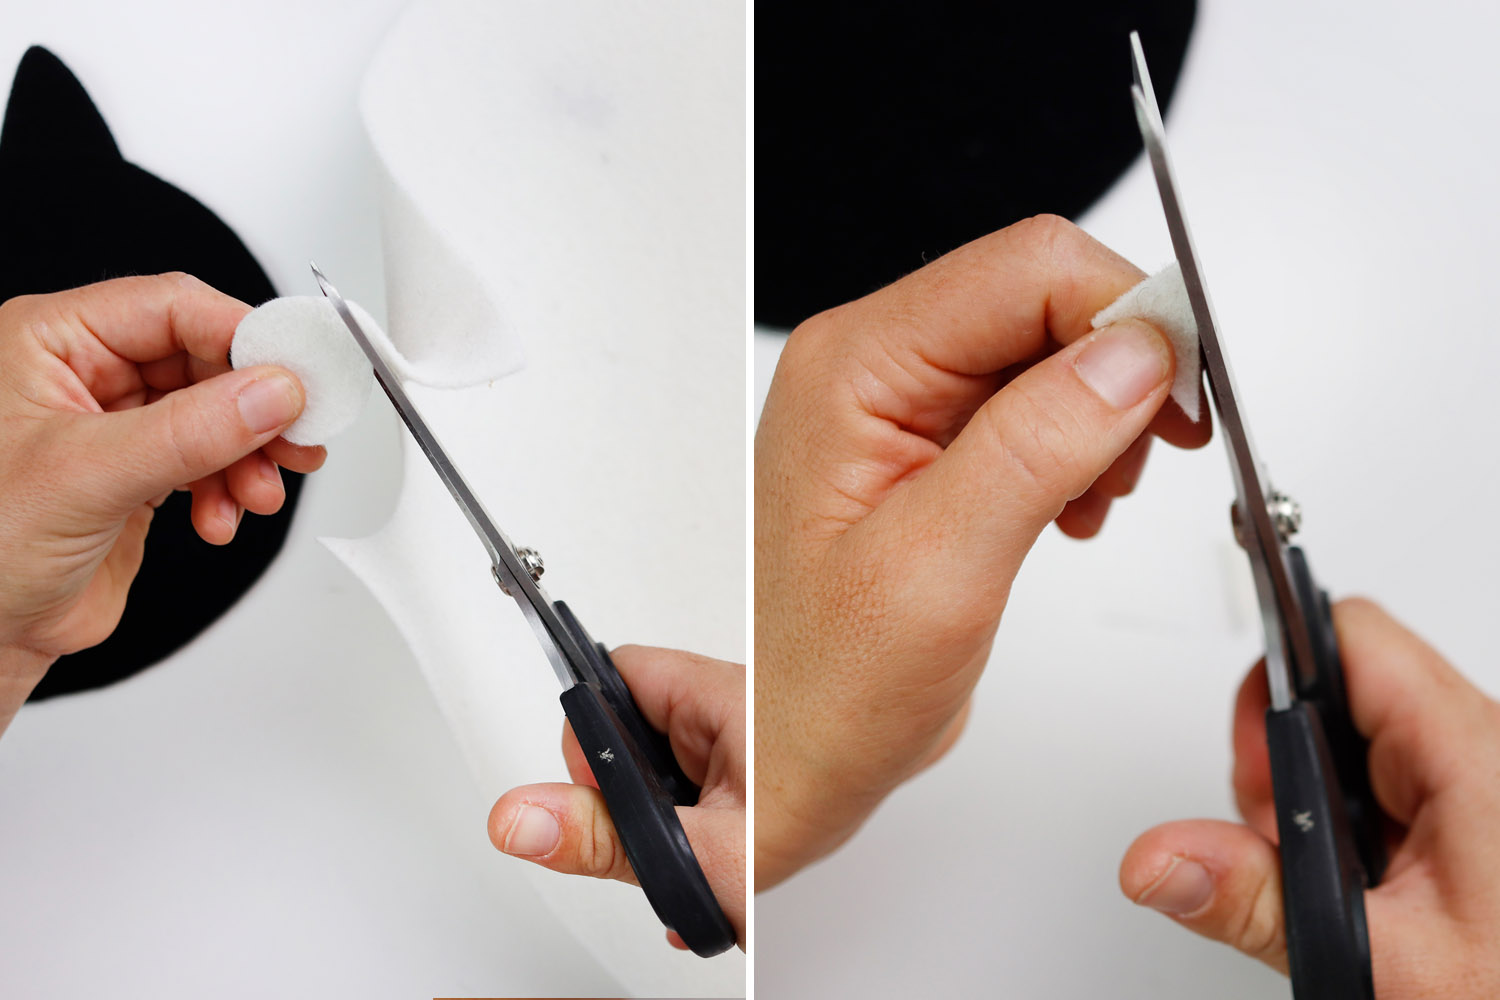
Next, cut out the pupils from black felt, and then from white felt cut the eye whites and two triangular teeth. As with the other details, overlap the first shape with the second to keep them symmetrical.
Place the black shape on the table and arrange all the cut details on top to decorate the face as you like.
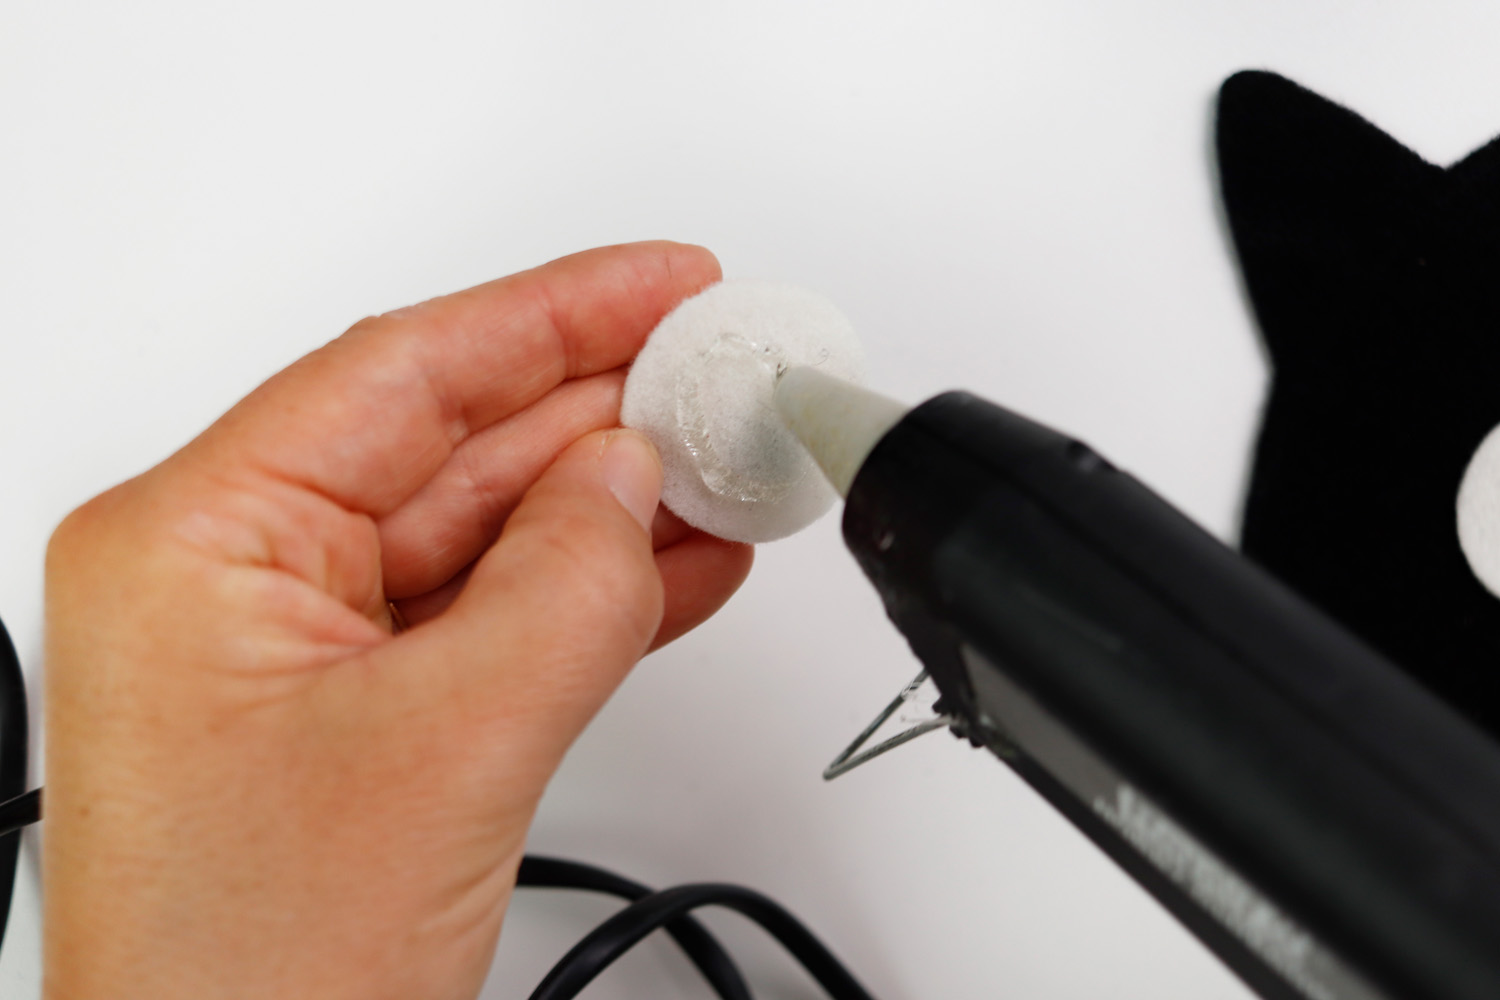
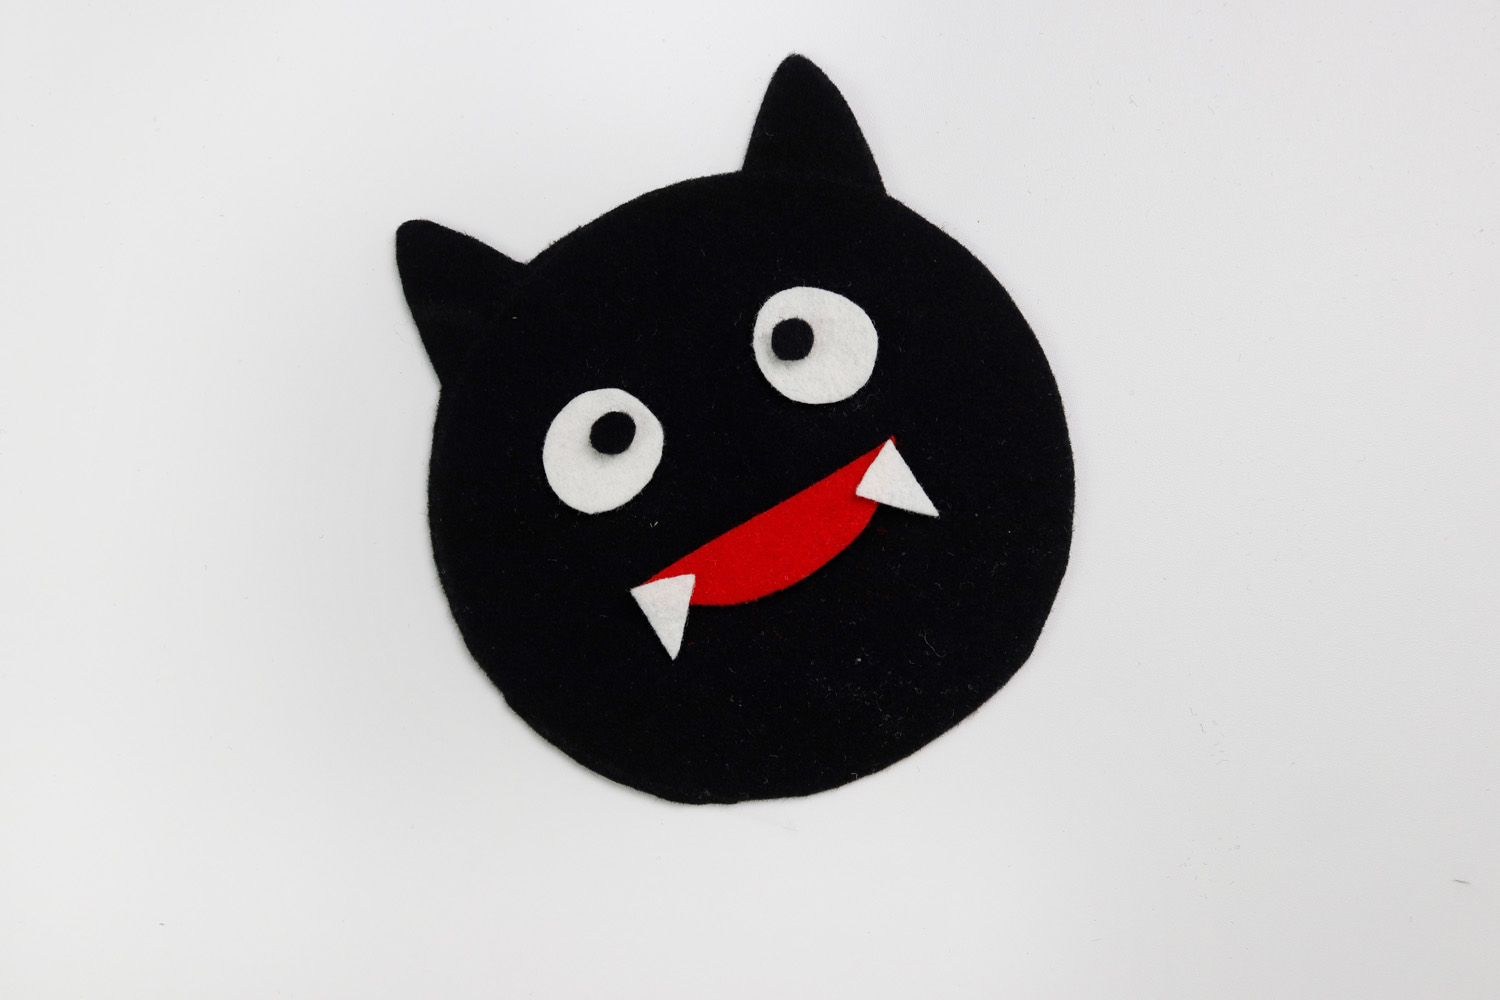 Use a hot glue gun to fix eyes, mouth, and teeth on the first felt shape. Be careful to avoid visible glue drips.
Repeat the same on the second bat shape.
Draw the wings or place the provided pattern on black felt and cut out the first wing. Overlap the first wing on the remaining felt and cut the second. You will need both to decorate the basket sides.
Sew, using needle and black thread, the rectangle sides to the first felt shape, making sure the edges are aligned.
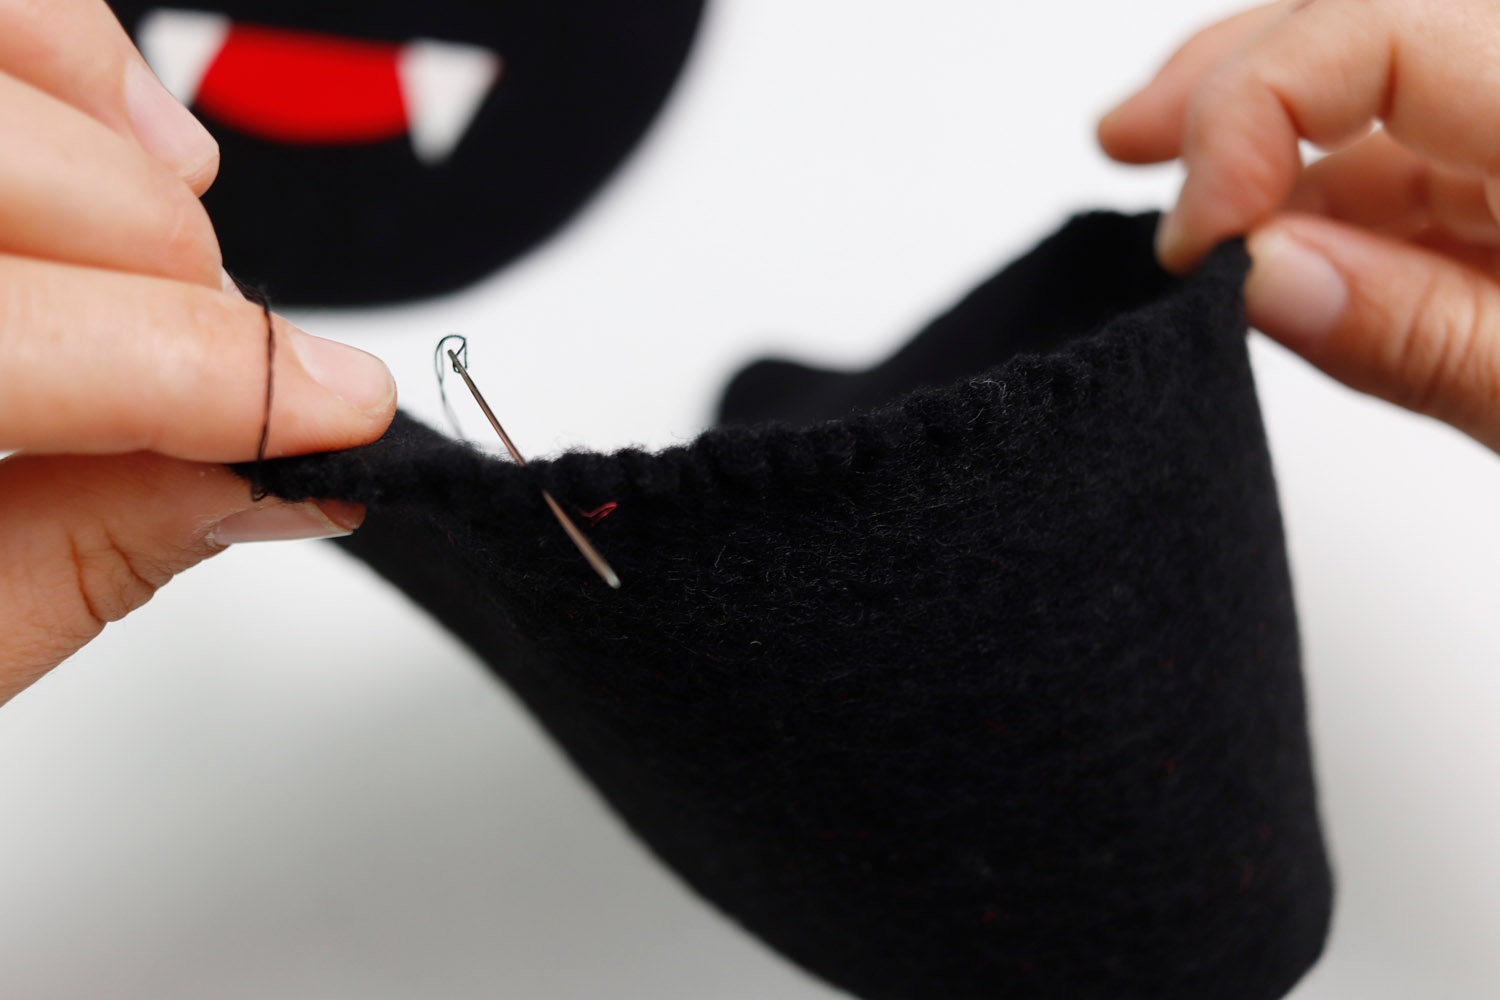
Close the seam by attaching the second felt shape, creating a solid 3D structure.
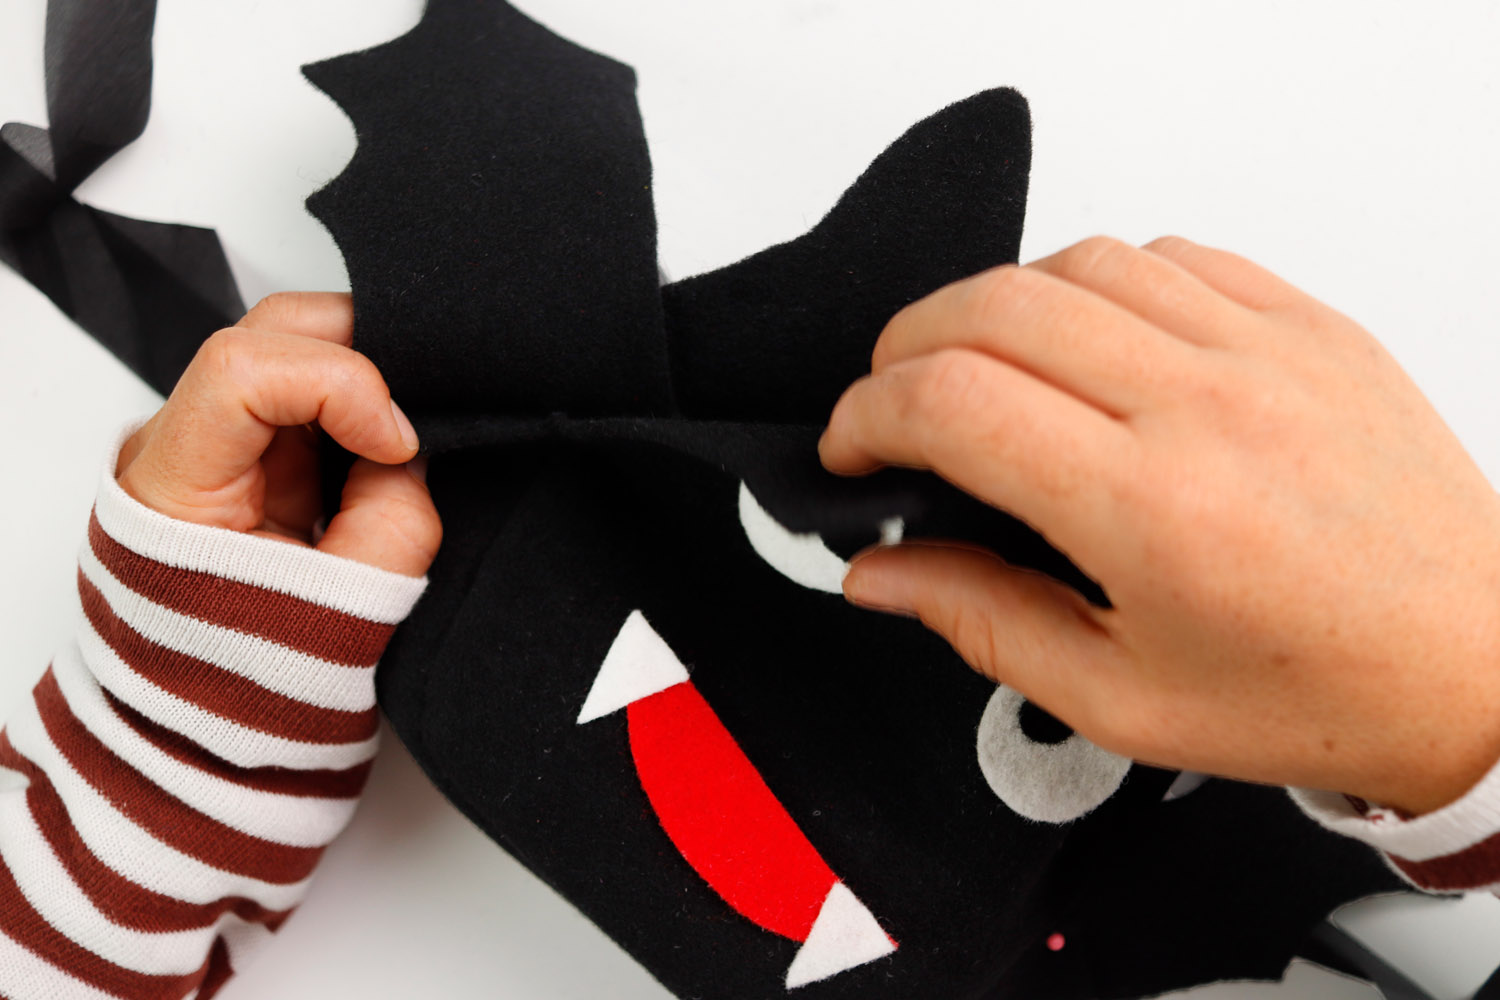
Attach the wings between the two shapes by sewing or hot gluing them.
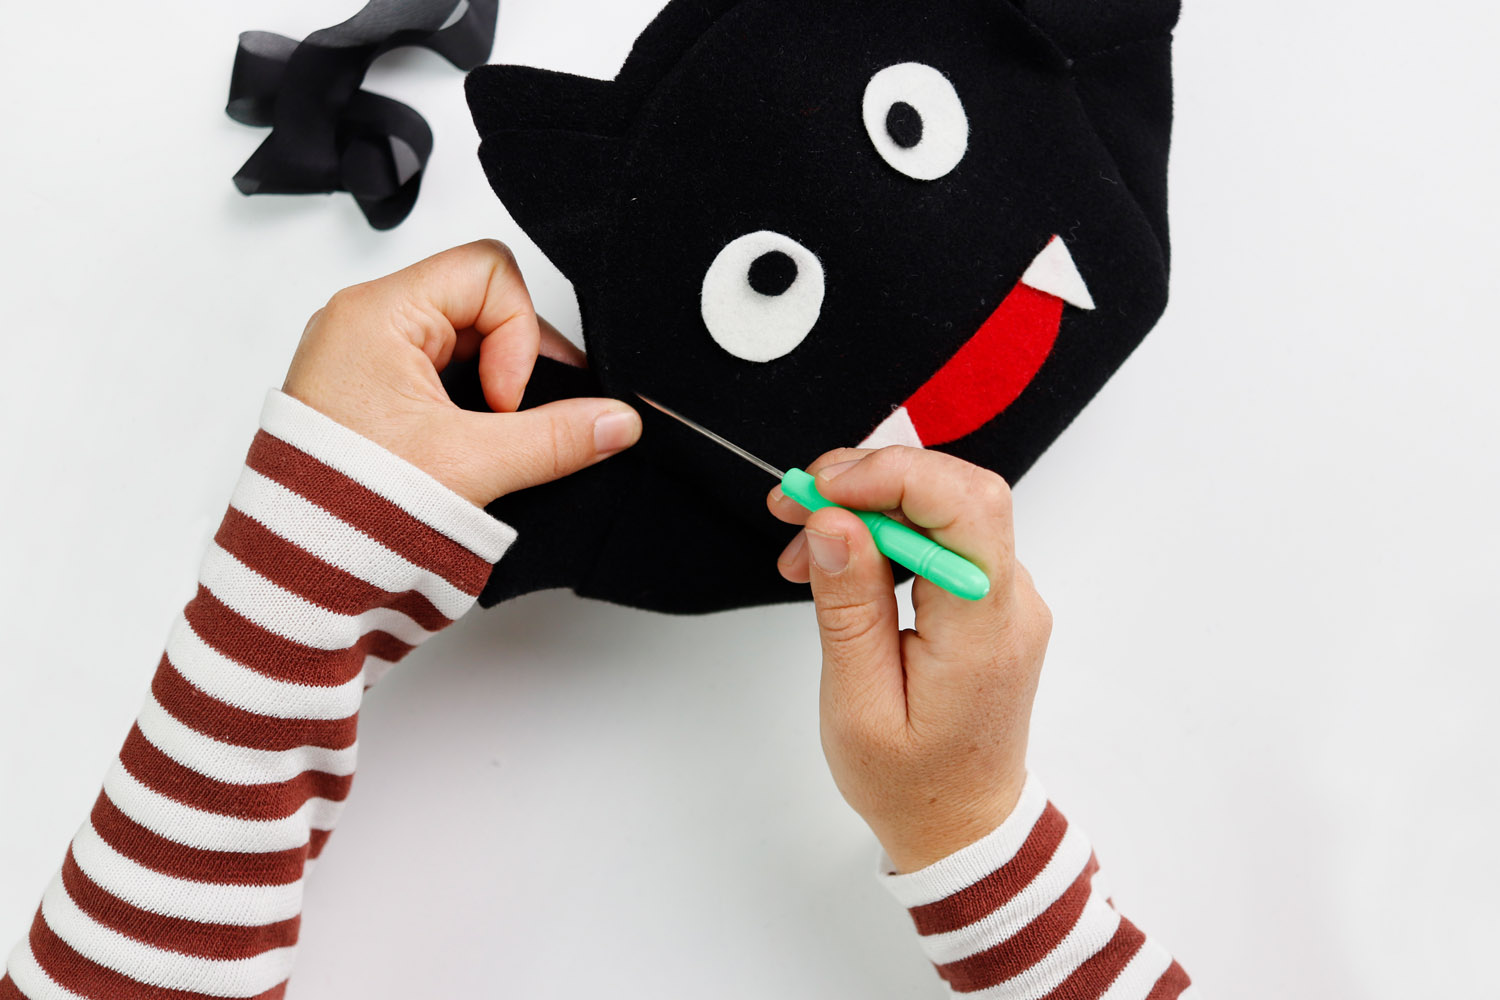
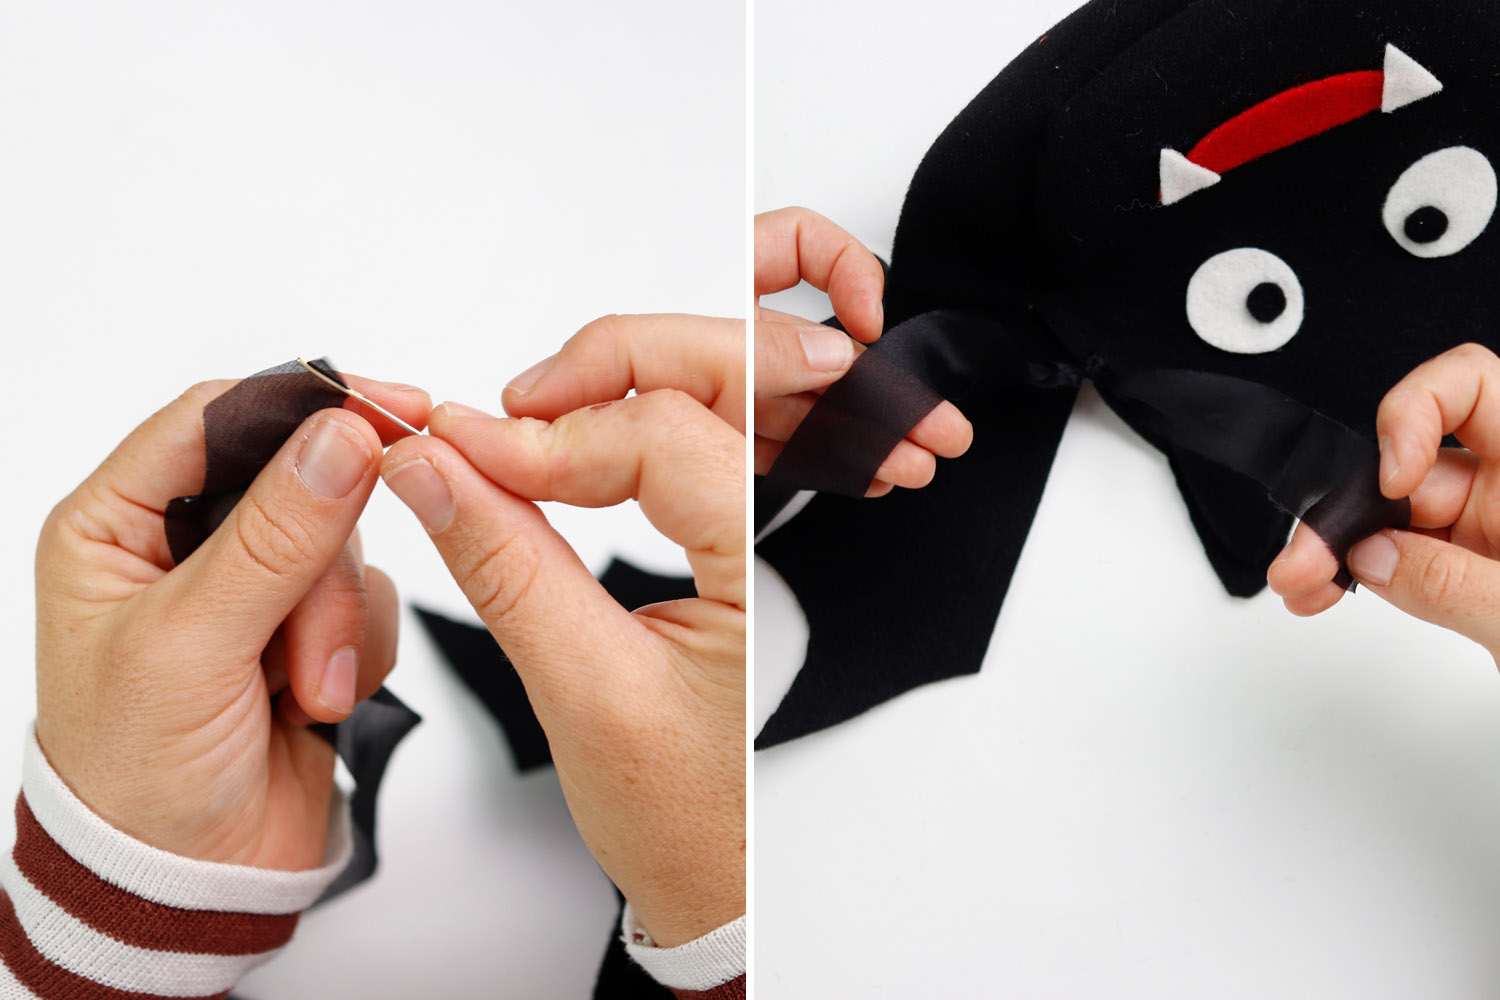
Use a needle to make two small holes at the top of the basket near the eyes. Tie at least three knots on each end to keep the ribbon securely in place and prevent it from slipping out.
Cut a length of black silk ribbon long enough to use as a bag handle or shoulder strap.
Use the needle as a guide to thread the ribbon through the holes. Tie a knot at the other end to secure it.
Check that all seams are secure and no parts are loose. Turn the basket right side out and shape it nicely.

Youve just created an original felt candy basket, perfect for Halloween night or as a decorative piece to add a spooky touch to your home. This project combines creativity and craft skills, using simple materials easily found even at the last minute. The result is a unique, customizable, and functional object for holding treats or small items.
This tutorial can be adapted with different colors and shapes, or enhanced with glitter, colorful ribbons, or fabric appliqués. Have fun with your Halloween DIY, and may your celebration be spookily special!


WRITE A COMMENT