
Here is a really cute DIY project, very easy to do but guaranteed to give amazing results: a tutorial for a cushion in etamine and giant yarn. This is a project by Ruth Singer, a multifaceted English artist who loves quilting that we have also interviewed recently. Ruth has used her inventiveness to create a cushion whose delicate hues will look gorgeous on a sofa, a chair, or a bed. I have already planned to make four to decorate the wrought iron porch swing on my terrace! Ruth has chosen to use cochineal to dye the giant yarn she applied on top of the cushion. Of course, if you want you can use it in the natural color or choose a different dye. Three, two, one Go! Lets get started with the tutorial which proves how versatile etamine can be! And now, Ill leave you to Ruth's tutorial.
For this cushion tutorial I chose the giant wool yarn to try a large-scale corded quilting project. By first dyeing the wool yarn you can create a shadow quilting effect with gauzy, semi-transparent wool etamine fabric on the top which allows the colours to show through. The flatter quilted areas are stitched over merino wool pre-felt rather than the typical polyester wadding (batting) which is usually used for quilting. The wool pre-felt is really lovely to hand stitch through and much more eco than polyester. The cushion shown is 60cm square but could be made any size.
MATERIALS
1m wool etamine fabric
1.5m cotton backing (such as calico)
1m silk / merino pre-felt (or pure merino)
Wool giant yarn (one ball)
Natural dye (cochineal used in this sample)
Machine sewing thread in cream
Hand embroidery thread in mauve
Fabric scissors
Fine embroidery or nail scissors
Sewing machine
Large safety pin
Hand embroidery needle (crewel needle)
Wash out fabric marking pen or fabric chal
METHOD
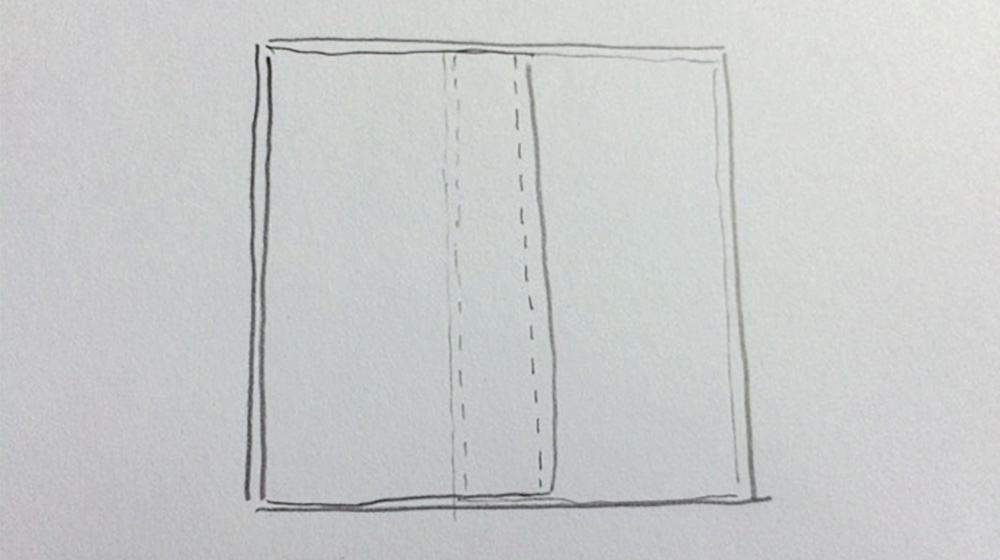
Cut pieces as follows:
Note: the fabrics for the front of the cushion are cut larger than the cushion reverse at 70x70cm because of the shrinkage which occurs with the cording, you will trim the piece down later.
Prepare and dye giant yarn with chosen colour. Strong colours work best so I have used cochineal for a mauve colour in contrast to the natural creamy white of the wool fabric. Rinse and allow to dry.
Draw a similar design onto the backing fabric using a wash out fabric pen or chalk, with each channel 2.5cm / 1in wide. Place the backing fabric design downwards and the wool etamine on top and tack around the edges. Machine sew the lines using matching cream thread. When all the outline stitching is complete, spray or dampen to remove the fabric marker then remove the tacking. Press the front of the fabric to remove creases and to set the stitches into the fabric.
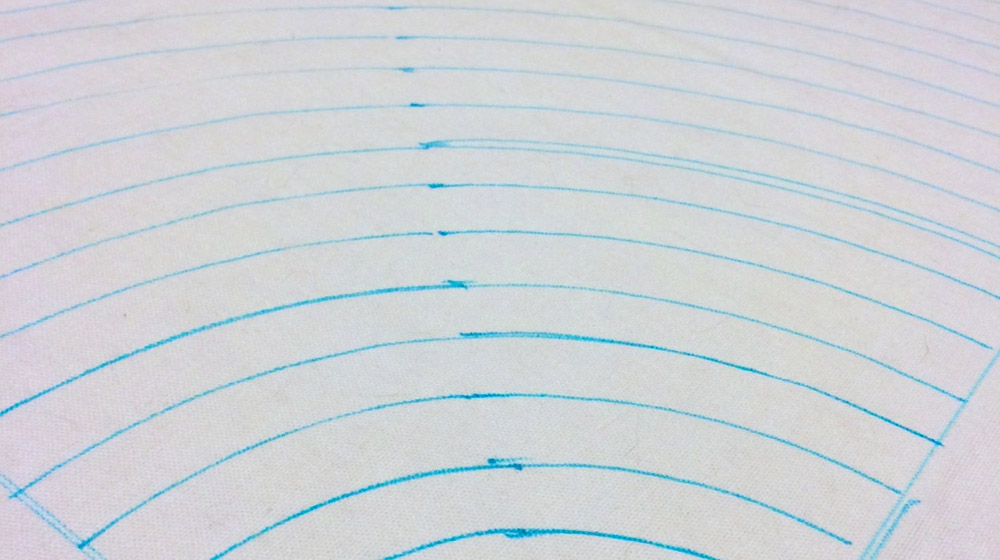
The next stage is to complete the cording on the curved design. You will need to use a large safely pin to thread the yarn through the channels. The yarn will go through the shorter curves near the corner very easily but for the longer, outer curves you will need to make holes in the backing to pull the yarn through in stages using very fine, sharp small scissors.

Begin at the corner with the shortest curve. Use the safety pin to pull the yarn through the channel, leaving 2cm at each end and cut off the excess. Continue until threading the yarn through becomes too difficult in the longer channels. For the longer channels you will need to make small holes in the backing fabric to pull the yarn through, making sure you dont cut the front fabric.

Cut one or two holes in each channel as shown in the photo. Start at the edge and pull the yarn out at the first hole, pull through and re-insert the needle back into the same hole you just came out of. Pull the yarn through gently and continue to the next hole and repeat. At the end of the channel leave the yarn tails about 2cm long.
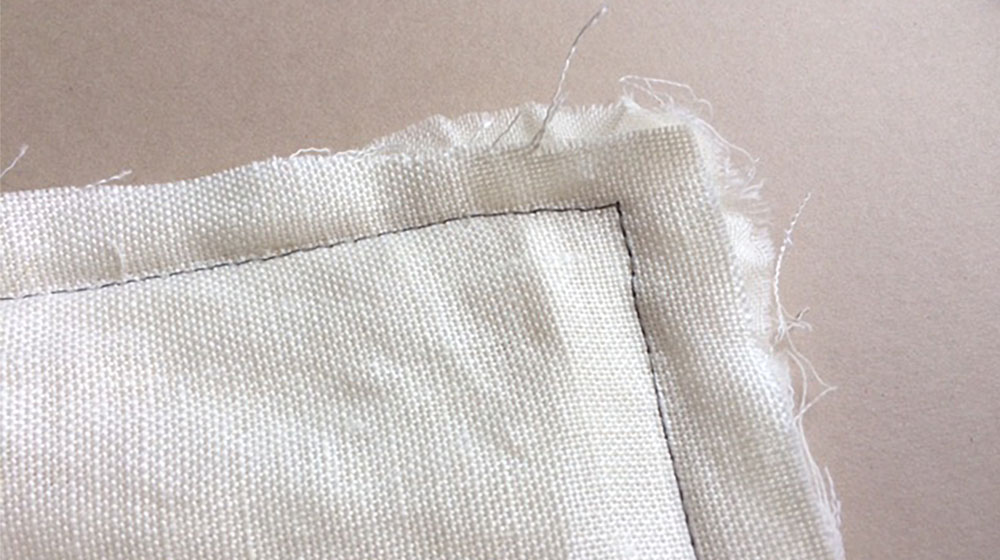
The quilting is padded with a layer of silk/ merino pre-felt. Take the square of pre-felt and trim away the corner area corresponding with the cording. Layer the pre-felt between the wool etamine and the backing fabric, making sure the curved edges butt closely together and there are no creases in any of the fabrics. Use small safety pins to hold the layers together.

To make the quilting stitching use a embroidery thread to sew a knotted stitch as shown in the images and trim off the long threads.


Make quilting stitches about 5cm apart all over the flat area of the cushion, removing the pins as you go. Trim the finished panel to 65x65cm, making sure it is square.
Sew a double hem on one long side of each of the cushion reverse fabric pieces.


Place the cushion front face up and place the cushion reverse pieces face down (hem fold facing up) with the raw edges matching and the hemmed edges overlapping.
Pin and tack all around the edges, paying particular care where the hemmed edges overlap and through the corded area.

Sew around the four sides using large stitches over the cording and smaller stitches on the flatter areas and pivot on the corners.

Turn the right way around and use a chunky knitting needle to carefully push out the corners. Steam lightly if required but do no press the cording excessively. Insert the cushion pad.
So, this is the finished cushion! Isnt it wonderful?

And this is all of our cushion tutorial! Try your hand at this project and make your own etamine cushion. And dont forget to send us pictures!
See you next time with another tutorial.
If you liked this article maybe you would also enjoy How to make felt placemats - Tutorial


WRITE A COMMENT