Plume Yarn: never out of style
I have always loved to knit. My grandma taught me how, and getting back into it it has been like riding a bike: I have never stopped ever since!
For me, it's been an immense pleasure to see how in the past few years hand knitting has become chic and how hand-made has become a signature style. Then I happily happened upon DHG and Merino wool... oh, the warm, soft embrace which only wool can offer is a pleasure that cannot be denied! If it is also cool and trendy, then it's simply impossible to do without it.

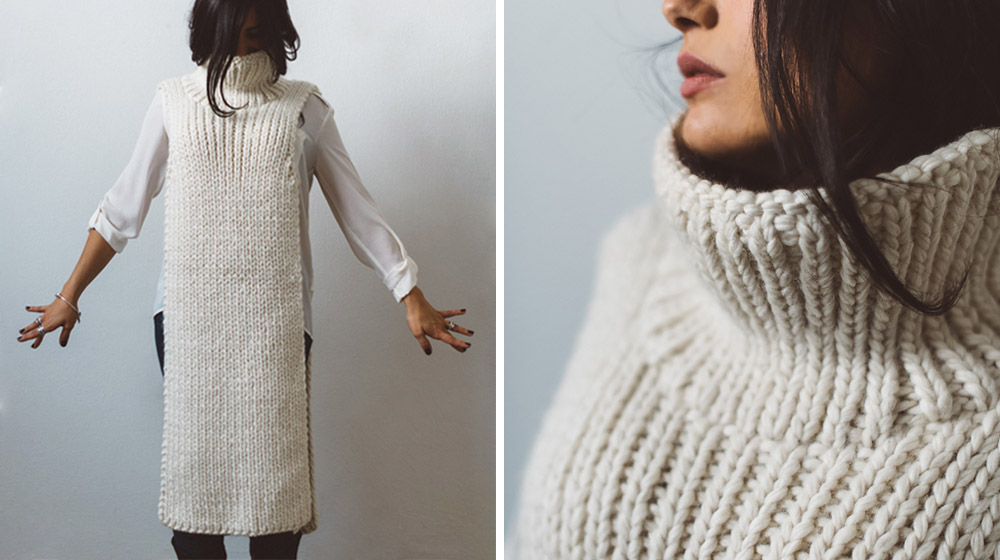
I used Plume Yarn (a luxurious, lightweight, soft yarn) to make a light, must-have maxi-scarf/bib.
Maxi because lately the most important rule in the world of fashion - which I love - is to go overboard. No compromises allowed! I completely threw myself into this trend.
Light because apart from any aesthetic effects, a garment must be wearable and this yarn allows for the creation of really comfortable, lightweight items.
Must-have because you really cannot do without it -- and not just because it's cold. You can wear it with anything you want, from warm sweaters to light dresses. With formal clothes and with evening dresses. It's become the ideal accessory to enrich any look in a simple way.
Here it is.
MATERIALS
Piuma yarn col. Snow 100 g / 3.5 oz
Knitting needle n° 8 EU / 11 US
METHOD
Using size 9 knitting needles, cast on 40 stitches for the back and 44 for the front, using three-end Plume Yarn.
Work in 1x1 ribbing for 79 rows.
Here are is the video to show you exactly how it's done.
On row 40, decrease 2 stitches on each side, knitting two stitches together at each end. This way, you'll have 36 stitches instead of 40, thus creating a small armhole.
Up to this point, the back and the front are identical. However, starting from the armholes we are going to knit the front and back slightly differently around the neck.
Back: knit in 1x1 ribbing for 20 rows; for row 21, knit 13 stitches, bind off 10 stitches, then knit the remaining 13 stitches. At this point, you'll will find your work divided in two. Continue to work the on the right side, knitting 9 stitches and binding off the remaining 4 stitches; next, bind off the remaining 9 stitches.
Do the same with the left side. Once you are finished, you'll see a slope for a neckline.
Front: the front neckline is going to be a bit deeper. To make it, continue in the same fashion, but knit the remaining 9 stitches for two rows before binding off.
Now unite the two parts by sewing them at the shoulder and at the hip.
To knit the neck, use a crochet hook to transfer the stitches onto crochet needle.
Finally, knit the neck in 1x1 ribbing for 20 rows and bind off.
Et voilà!

These are small details, but believe me, they do make a difference!
Until next time,
Cris
VeryCris/Cristina Pedrotti FashionBlogNotes
VideoMaker and Photos Agnese Morganti/lemissmatch
If you liked this tutorial, you may also like the Hippie Chic Coat tutorial!
WRITE A COMMENT