
Today well learn how to make a school-style knitted collar together! This accessory originated at the beginning of the last century and, until a few decades ago, was even worn at elementary school. Moms loved to create personalized and beautiful ones for their kids.
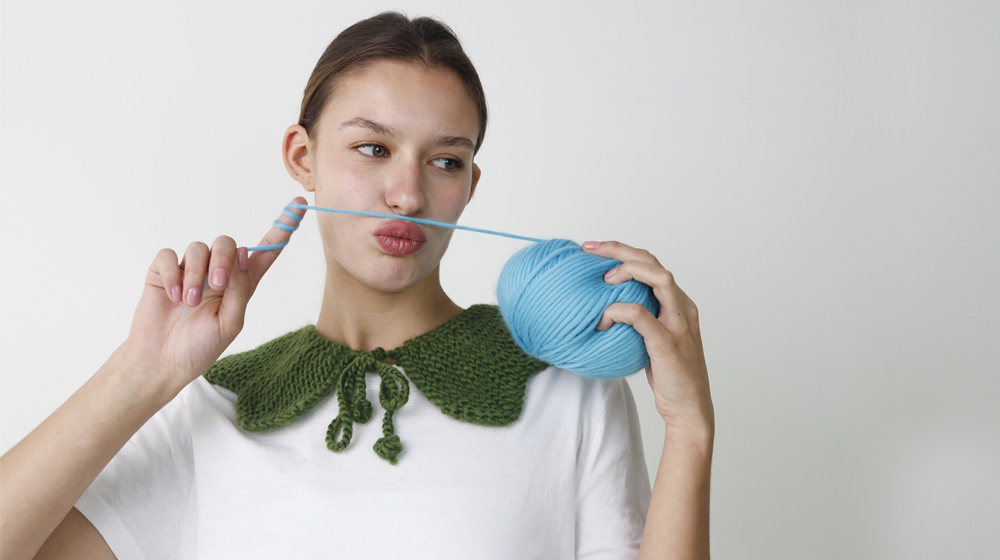
Ours is made with Piuma yarnsuper soft, chunky, pure merino wool. We love it because its like a hug for our nostalgic souls, and it adds a perfect preppy touch!
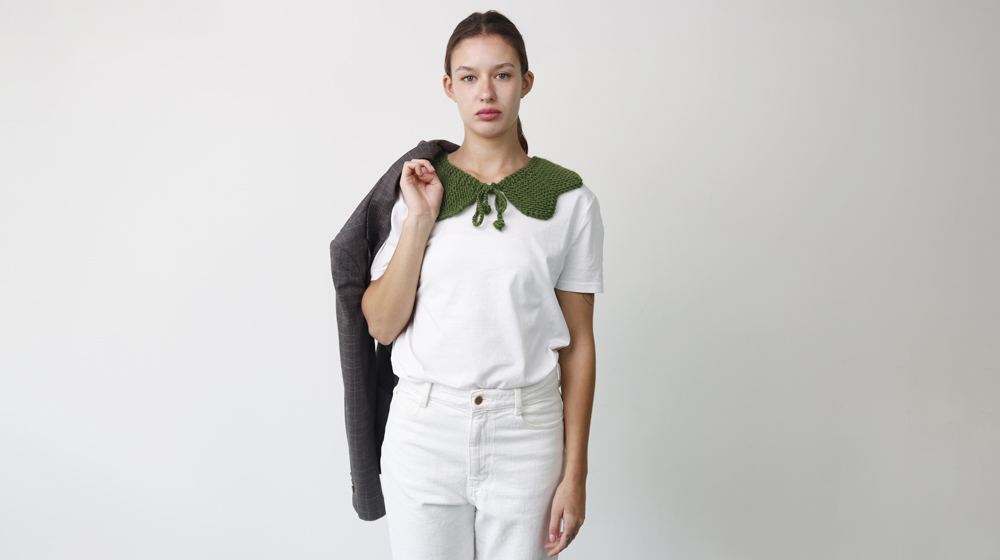
Here, the model wears a simple white t-shirt with matching jeans. For an extra British vibe, weve added a tartan jacket. Isnt the result fabulous?
Choose your favorite color of Piuma (we even have printed ones), and start knitting!
MATERIALS
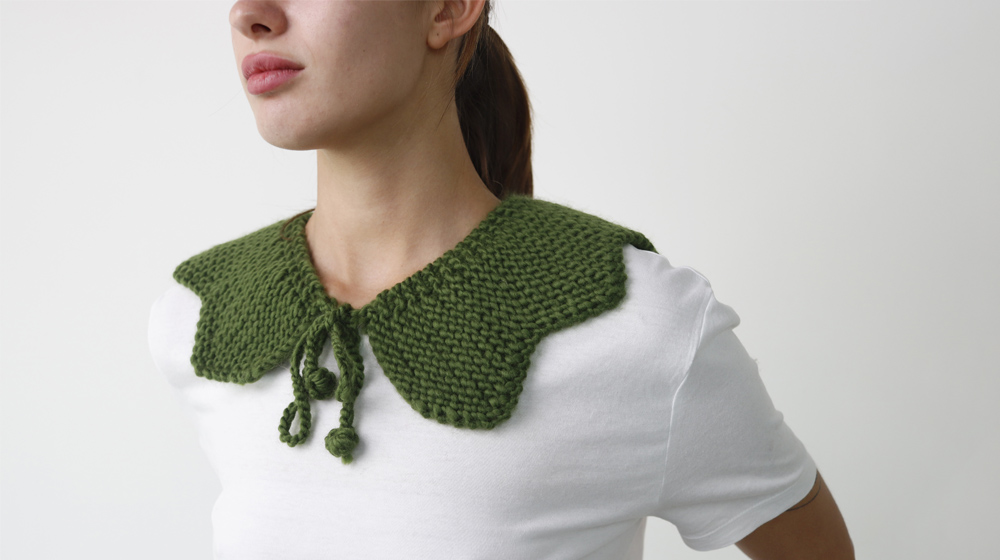
Piuma yarn color Ivy 71 g / 2.5 oz
Needles size n° 5.5 EU / 9 US
Crochet hook size n° 5 EU / H-8 US
Stitch holder
Tapestry needle
GAUGE GARTER STITCH
10 cm x 10 cm / 4" x 4"
13 stitches and 18 rows
STITCHES USED
Knit
Purl
Twisted knit:
knit into the back loop of the stitch.
Knit increase:
lift the strand between the worked stitch and the next, and knit one twisted stitch into it.
Garter stitch:
knit every row, right side and wrong side.
Reverse stockinette:
row 1: purl
row 2: knit
Repeat rows 1 and 2.
SSK (slip, slip, knit):
slip one stitch to the right needle, knit the next stitch, then pass the slipped (unworked) stitch over the knitted stitch with the left needle tip.
FINISHED SIZE
67 cm / 26.4" circumference
DIFFICULTY
Intermediate
INSTRUCTIONS
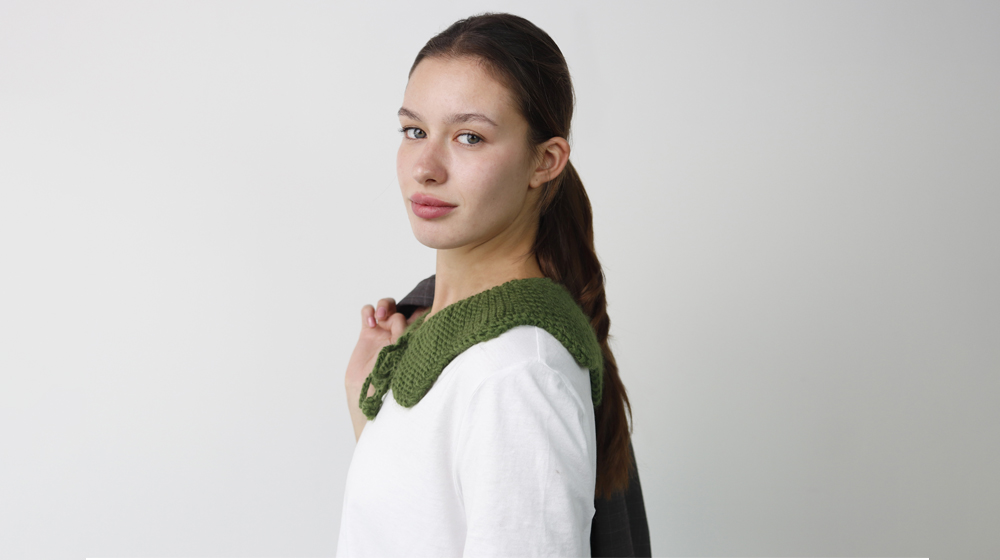
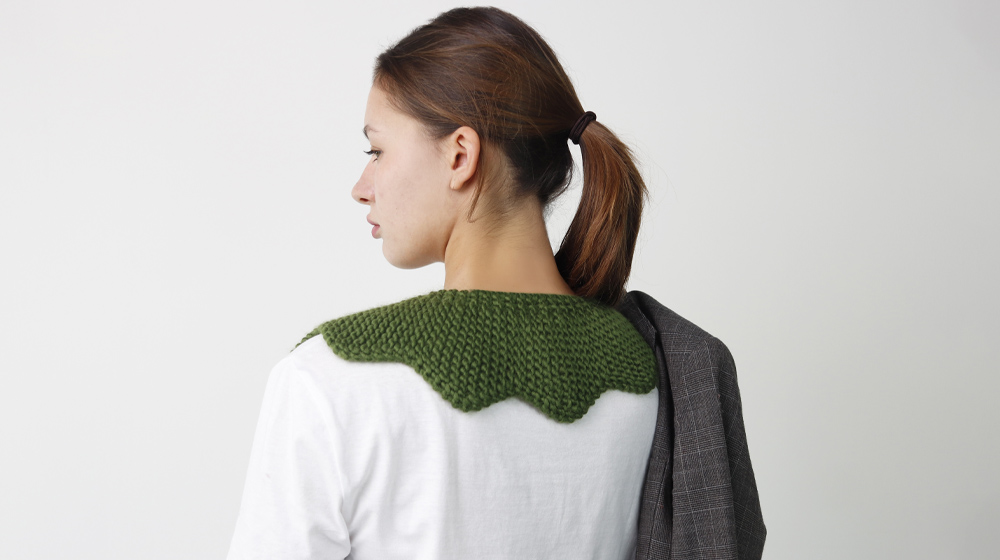
The collar is worked flat and shaped into 9 points in garter stitch, outlined by a reverse stockinette border. To create the curved shape, you knit extra rows on the stitches forming the points at regular intervals.
With knitting needles n° 5.5 EU / 9 US, cast on 12 stitches.
Row 1: 9 knit stitches, 3 purl stitches for the border
row 2: 3 knit stitches for the border, knit to end
row 3: knit 1, kfb (knit increase) 1, knit to last 3 stitches, leave those 3 border stitches unworked on a stitch holder
row 4: leave the 3 border stitches on the holder, knit the following stitches
row 5: knit 1, kfb 1, knit to the held stitches, place them back and purl 3 for the border
row 6: knit 3 for the border, knit to end
rows 712: repeat rows 36, then work rows 3 & 4 one more time
row 13: knit to held stitches, return them and purl 3 for the border
row 14: knit 3 for the border, knit to end
row 15: knit to last 3 stitches, purl last 3 for border
row 16: same as row 14
row 17: decrease 1 stitch using SSK on first 2 stitches, knit to last 3, leave last 3 border stitches on the holder
row 18: leave border stitches on the holder, knit remaining stitches
row 19: decrease 1 stitch using SSK on first 2 stitches, knit to held stitches, purl 3 for border
row 20: knit 3 for border, knit to end
rows 2128: repeat rows 1720 two more times. Youve now finished the first point and have worked 28 rows on the point and 16 on the border. Make 8 more points in the same way by repeating rows 128, then bind off.
For the first tie, join the yarn with the crochet hook n° 5 EU / H-8 US at one collar edge, chain 60 stitches, cut and finish off. Make a knot at the free end. Repeat the same for the second tie at the other edge.


WRITE A COMMENT