
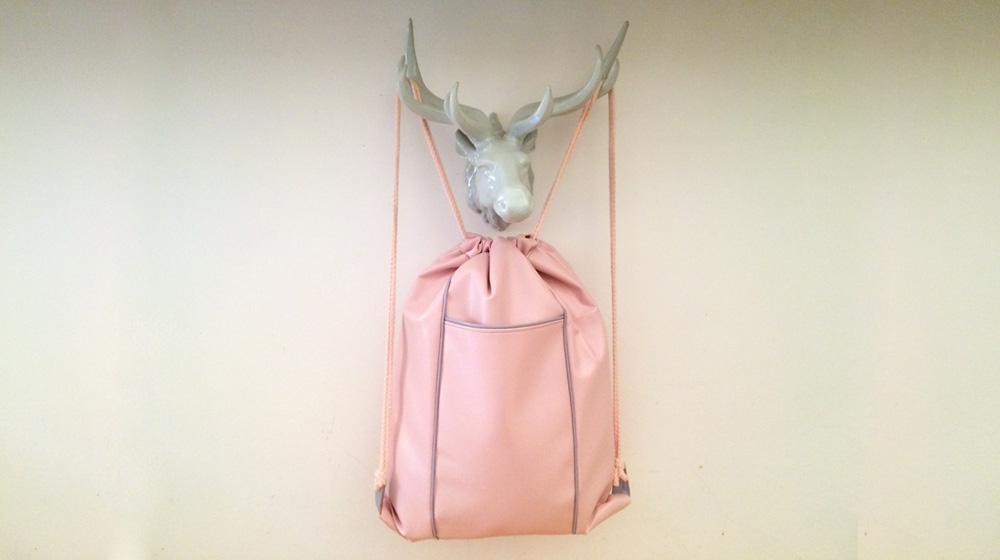
Here we are with another really nice do-it-yourself project, easy to make and exclusive for you DIY fans and readers of this blog. Its also for those passionate about cruelty free products. In fact, todays item is The Best Friend Backpack made with our Deluxe Faux Leather.
This time I have unleased Manuel Attardis creativity. Pattern maker for the fashion house Anteprima, yoga teacher, tattoo artist (just for friends) performer, a big traveller and much more. Manuel is indeed tireless, always on the look out for new creative incentives and bursting with original ideas. Then, whatever he takes on he succeeds at, like King Midas and his golden touch. Things to do with a little anger! Therefore with all these capitivating qualities I couldnt let him get away!
He has made a backpack for DHG ready for anything: a trip to the lake, a dance lesson, a sleepover at a friends house, a painting course? This backpack is the ideal companion!
Ready? Go.
To make the backpack we decided to combine our Faux leather Deluxe Powder with lyric for the detail, you can of course choose whichever combination you prefer to suit your imagination and creativity. Choosing from our range of 21 colours.
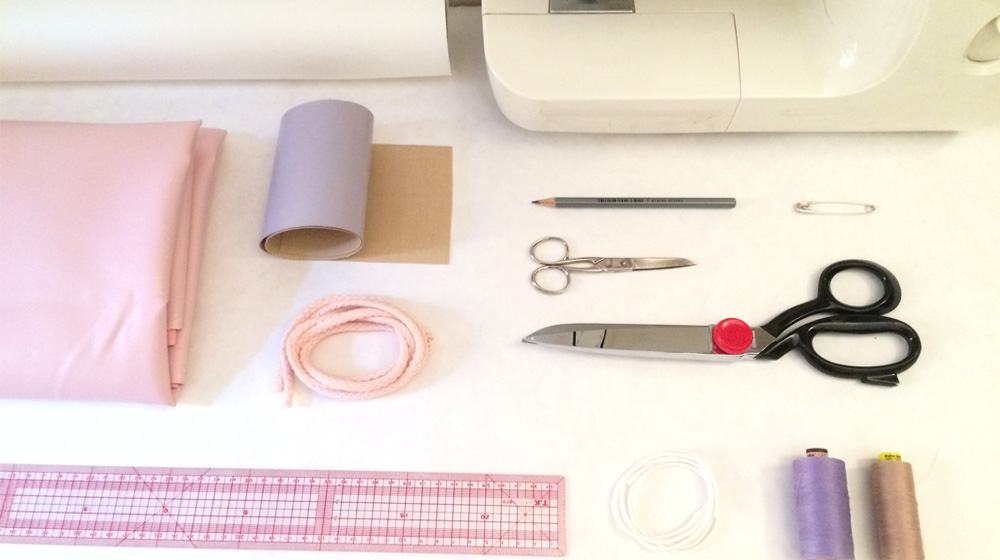
MATERIALS
1m of Col. Powder faux leather
50cm of Col. Lyric faux leather on a roll h 10cm
1 pair of fabric scissors
1 pair of scissors for paper
Thread cutter
1.5m of drawstring for the piping
3m of matching string for the shoulder straps
1 pattern makers ruler or square ruler
1 sewing machine
bobbins of sewing thread powder and lilac
1 drawing pencil
1 large safety pin and of course paper for paper patterns.
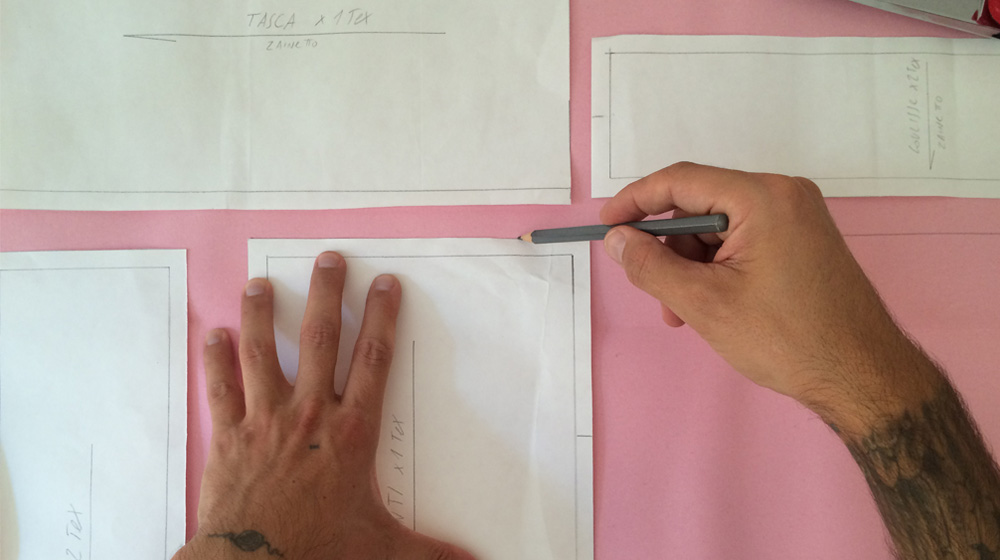
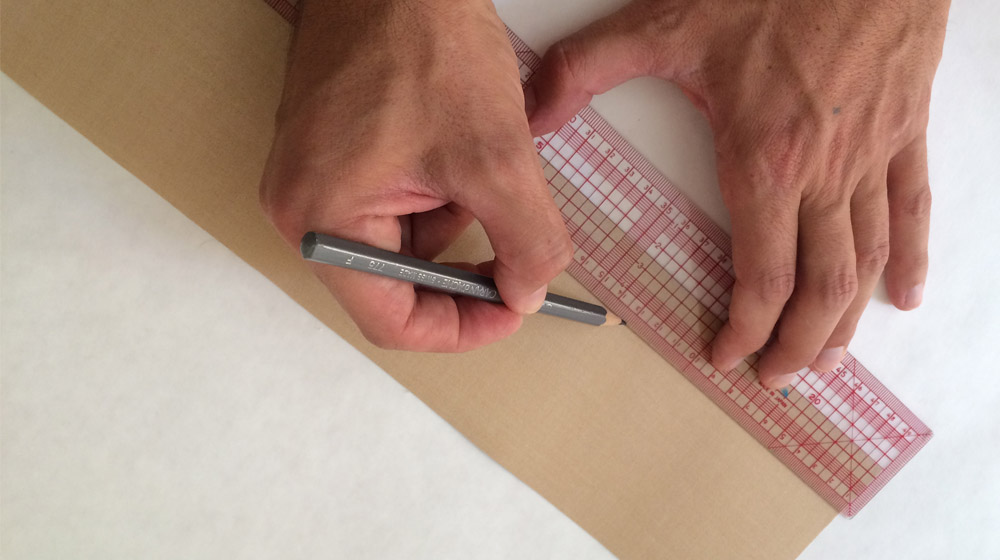
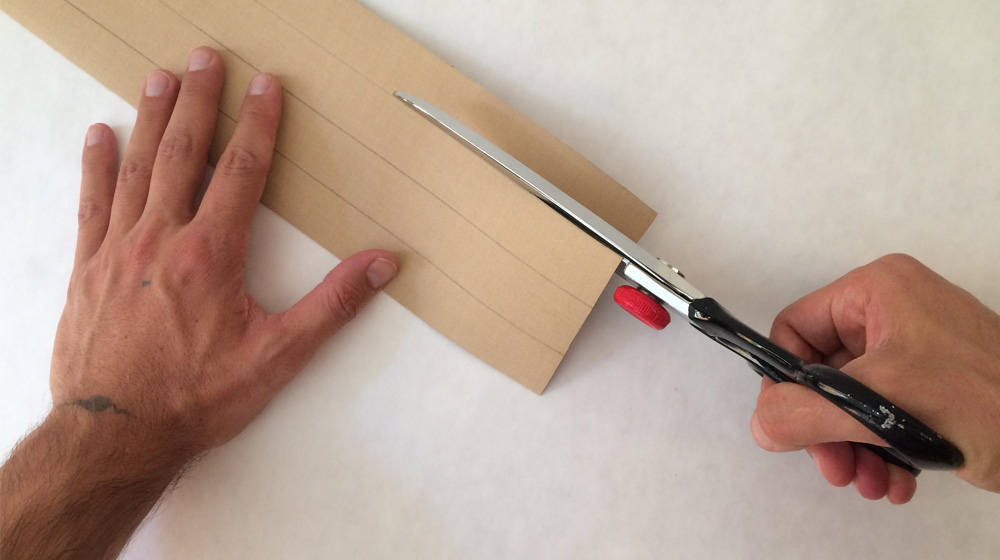
With a pattern makers ruler or square ruler, draw the following rectangles on the paper and then cut them out with the scissors, we will use them to make our backpack:
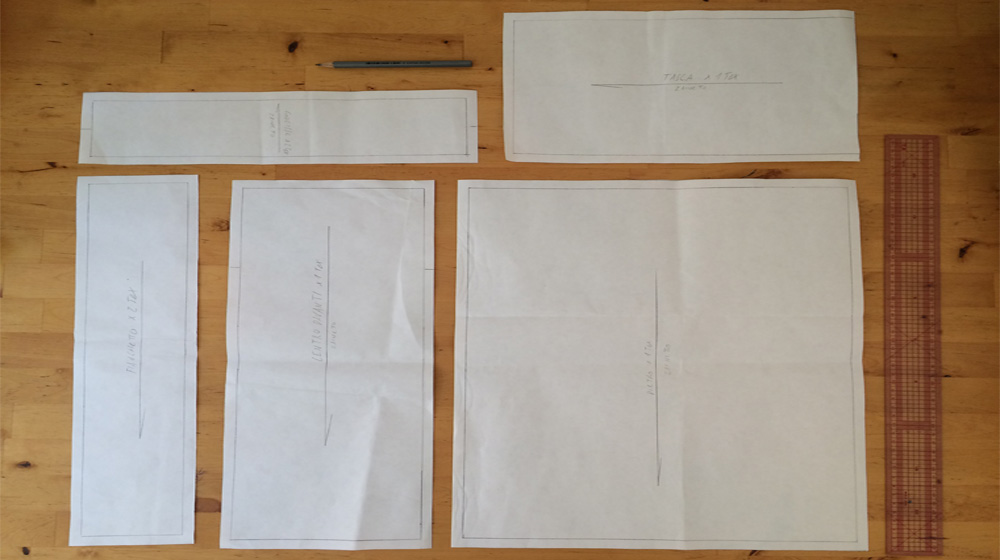
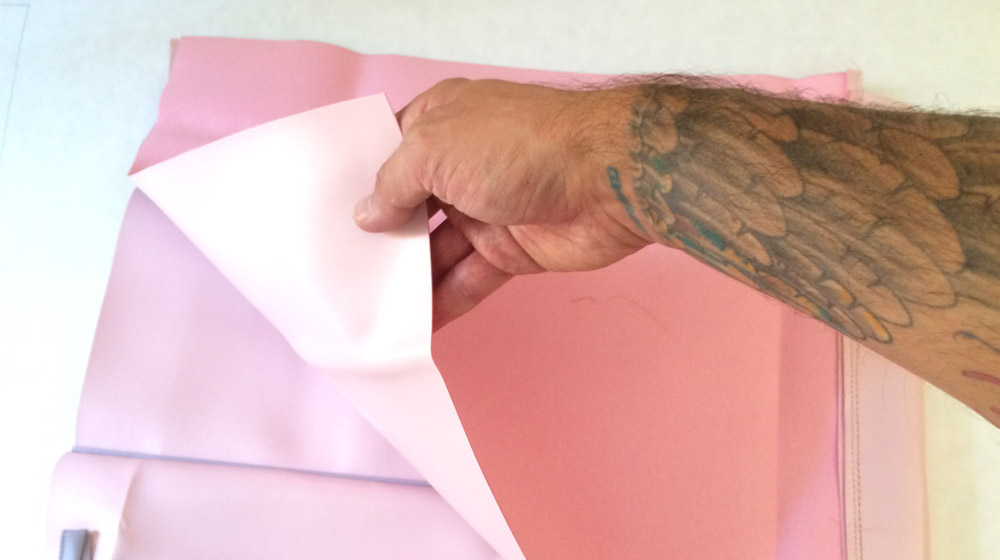
Now put all the patterns on the back of the fabric, drawing round the edges with a pencil or tailors chalk, then cut out all the pieces with the fabric scissors.
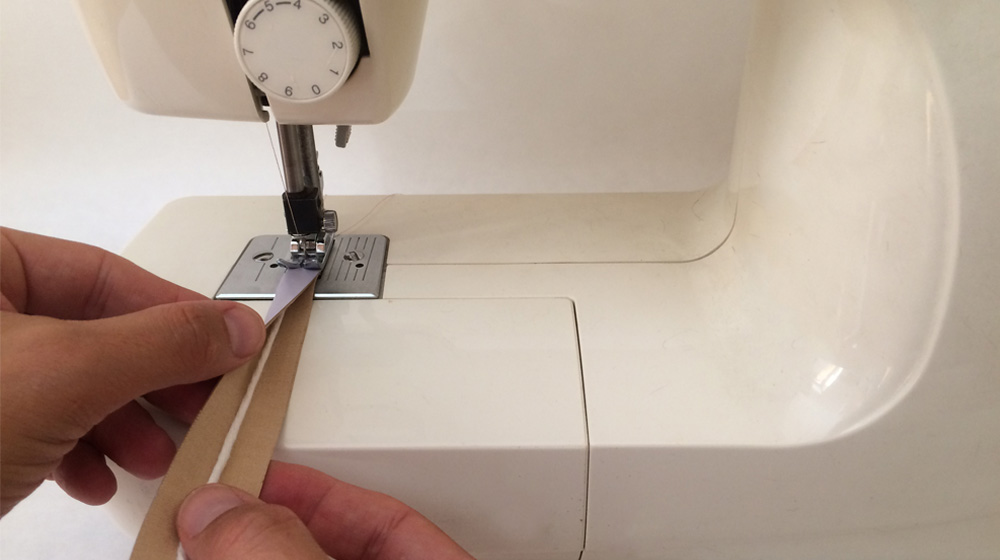
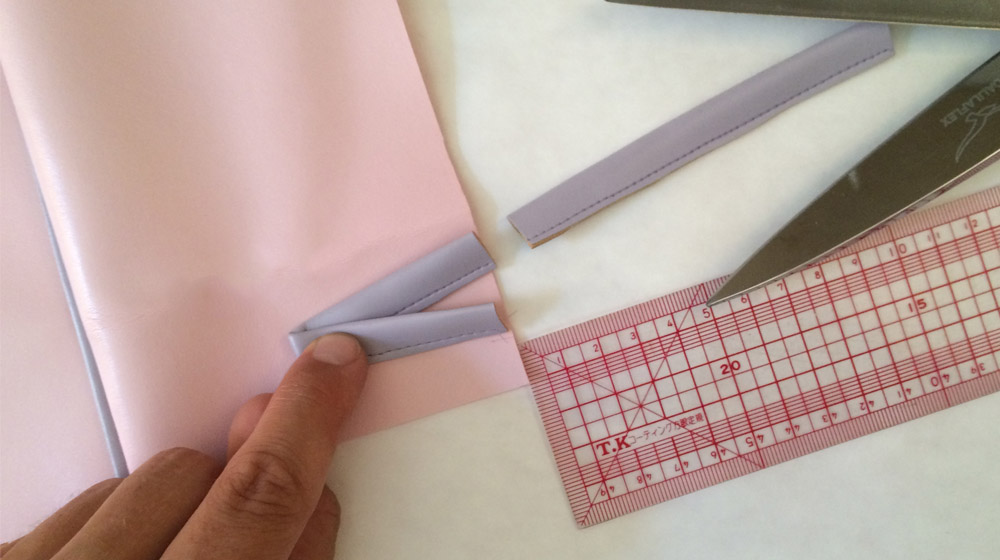
Before going ahead, make the piping, cutting it into strips of 2,5cm from the 50cm roll of Lyric. Sew three strips halfway with the drawstring inside, while the forth will be used to make the eyelets that will go on the sides at the bottom of the backpack. Also in this case sew them halfway using edgestitch to get 2 pieces 10 cm each.
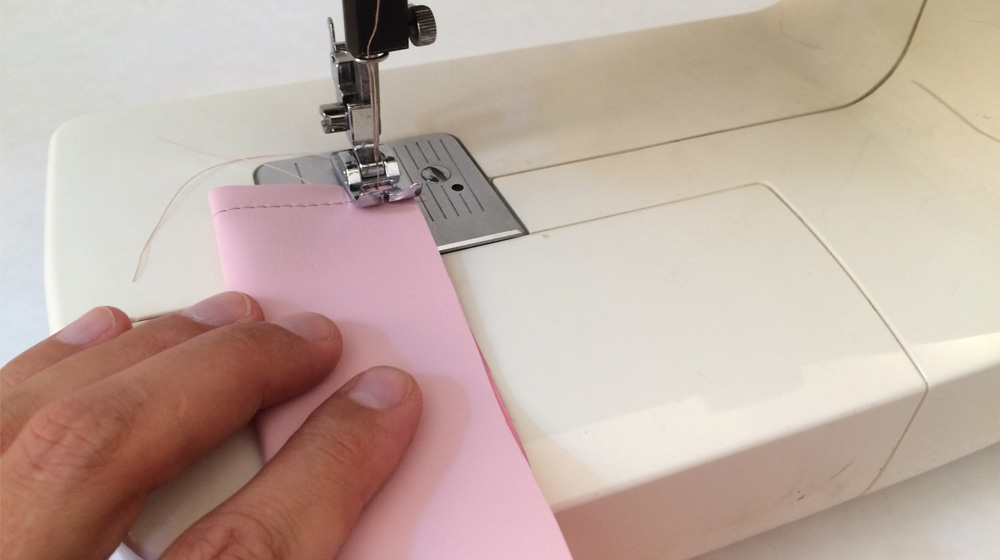
Sew the piping on the upper edge of the pocket, then sew it from the right.
Attach the pocket to the front in the centre and then sew the piping on the sides.
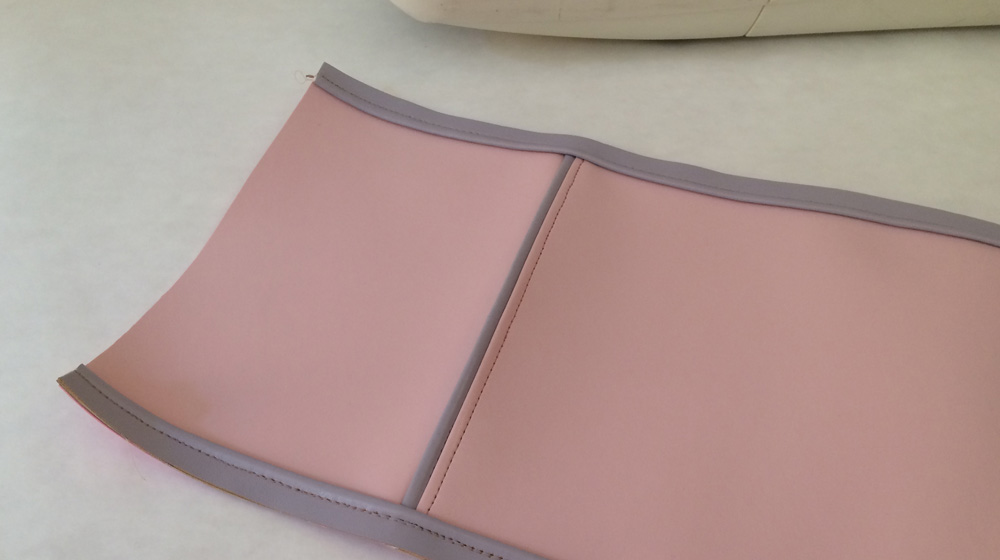
Then sew the side panels of the piping on the central part.
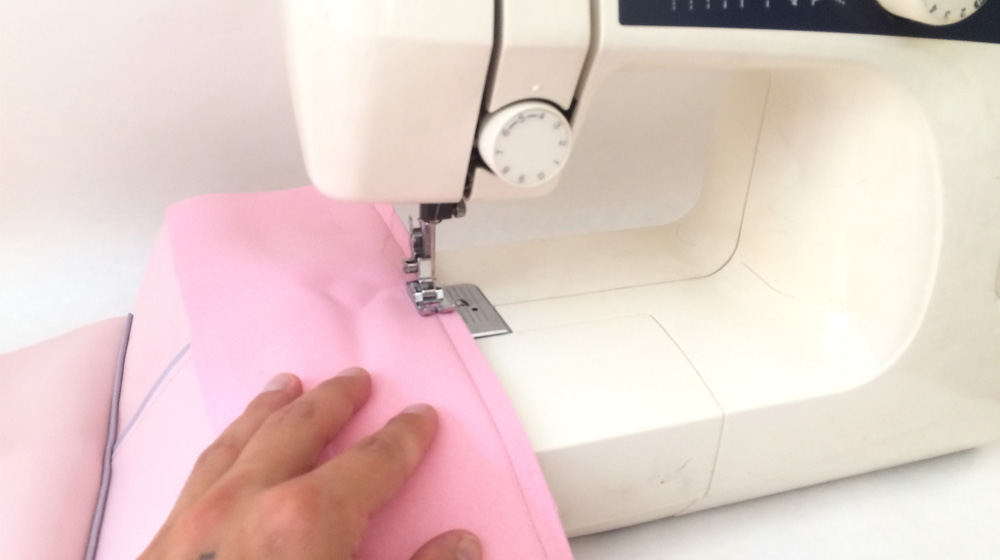
Then take the two pieces to make the upper edge that will become a drawstring and sew the outer edges (short side) to 1cm, then fold the piece onto itself sewing the bottom edge, forming a tube shape.
Now sew the bottom edge of a drawstring to the top edge of the front, taking care to leave a 1cm sewing margin for each outer side. Sew the drawstring with an outer seam.
Repeat the same process for the back.
On the outer bottom edge on the back, attach the eyelets previously prepared with two or three blanket stitches.
Now we are ready to close our backpack, just join the back to the front with a 1cm stitch on the outer sides and the bottom one.
Put the backpack the right side out, making sure you pull out all the corners at the bottom and the corresponding eyelets.
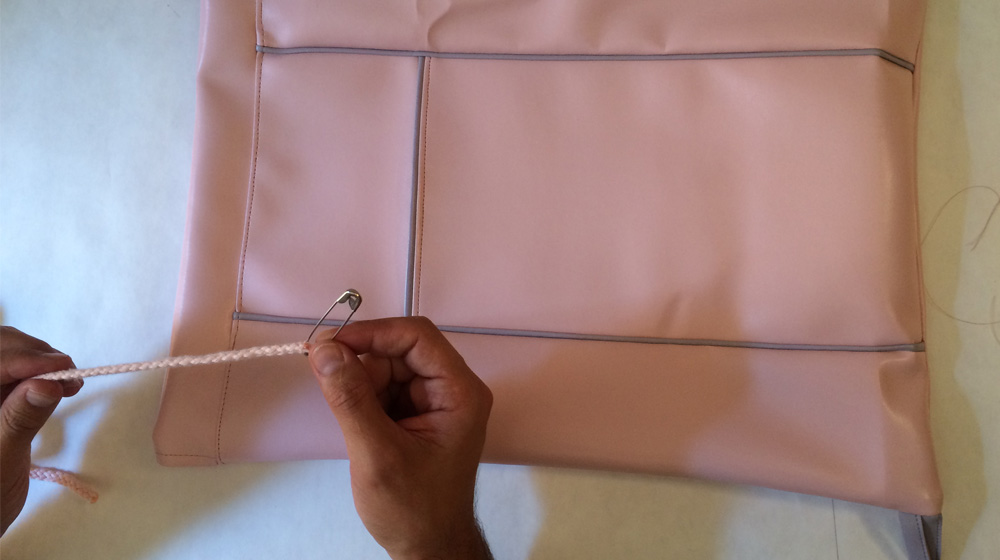
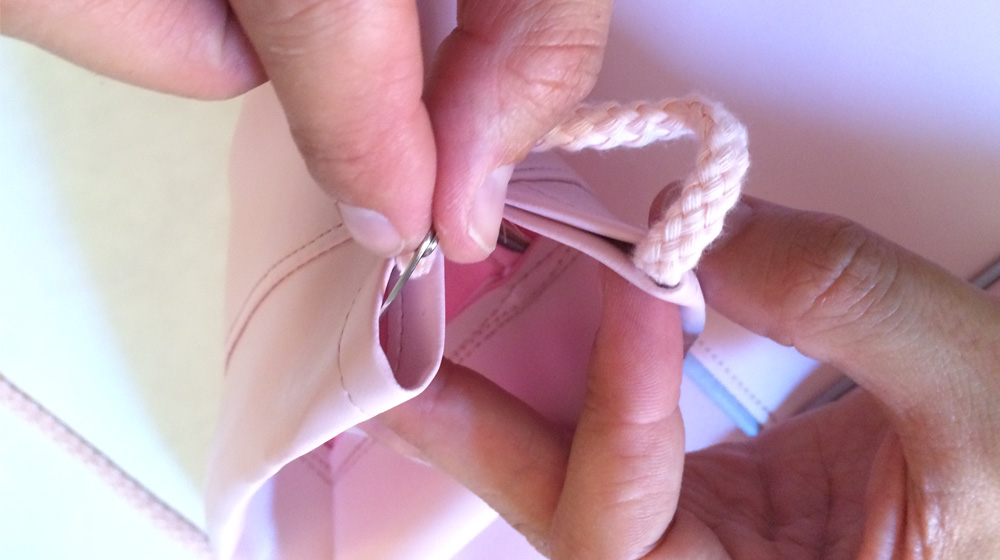
Take the string and cut it in half to get two 1.5m strings, thread the string through the drawstring, using the safety pin to help you and fasten them to the eyelets at the bottom.
Your DHG faux leather backpack is ready at last and above all Cruelty Free!
See you at the next tutorial.
If you are interested in faux leather and its works, we recommend this tutorial on bringing a t-shirt back to life.


WRITE A COMMENT